Friday 30 December 2022

Fixing Up Structures (Part 3) - Finished For Now

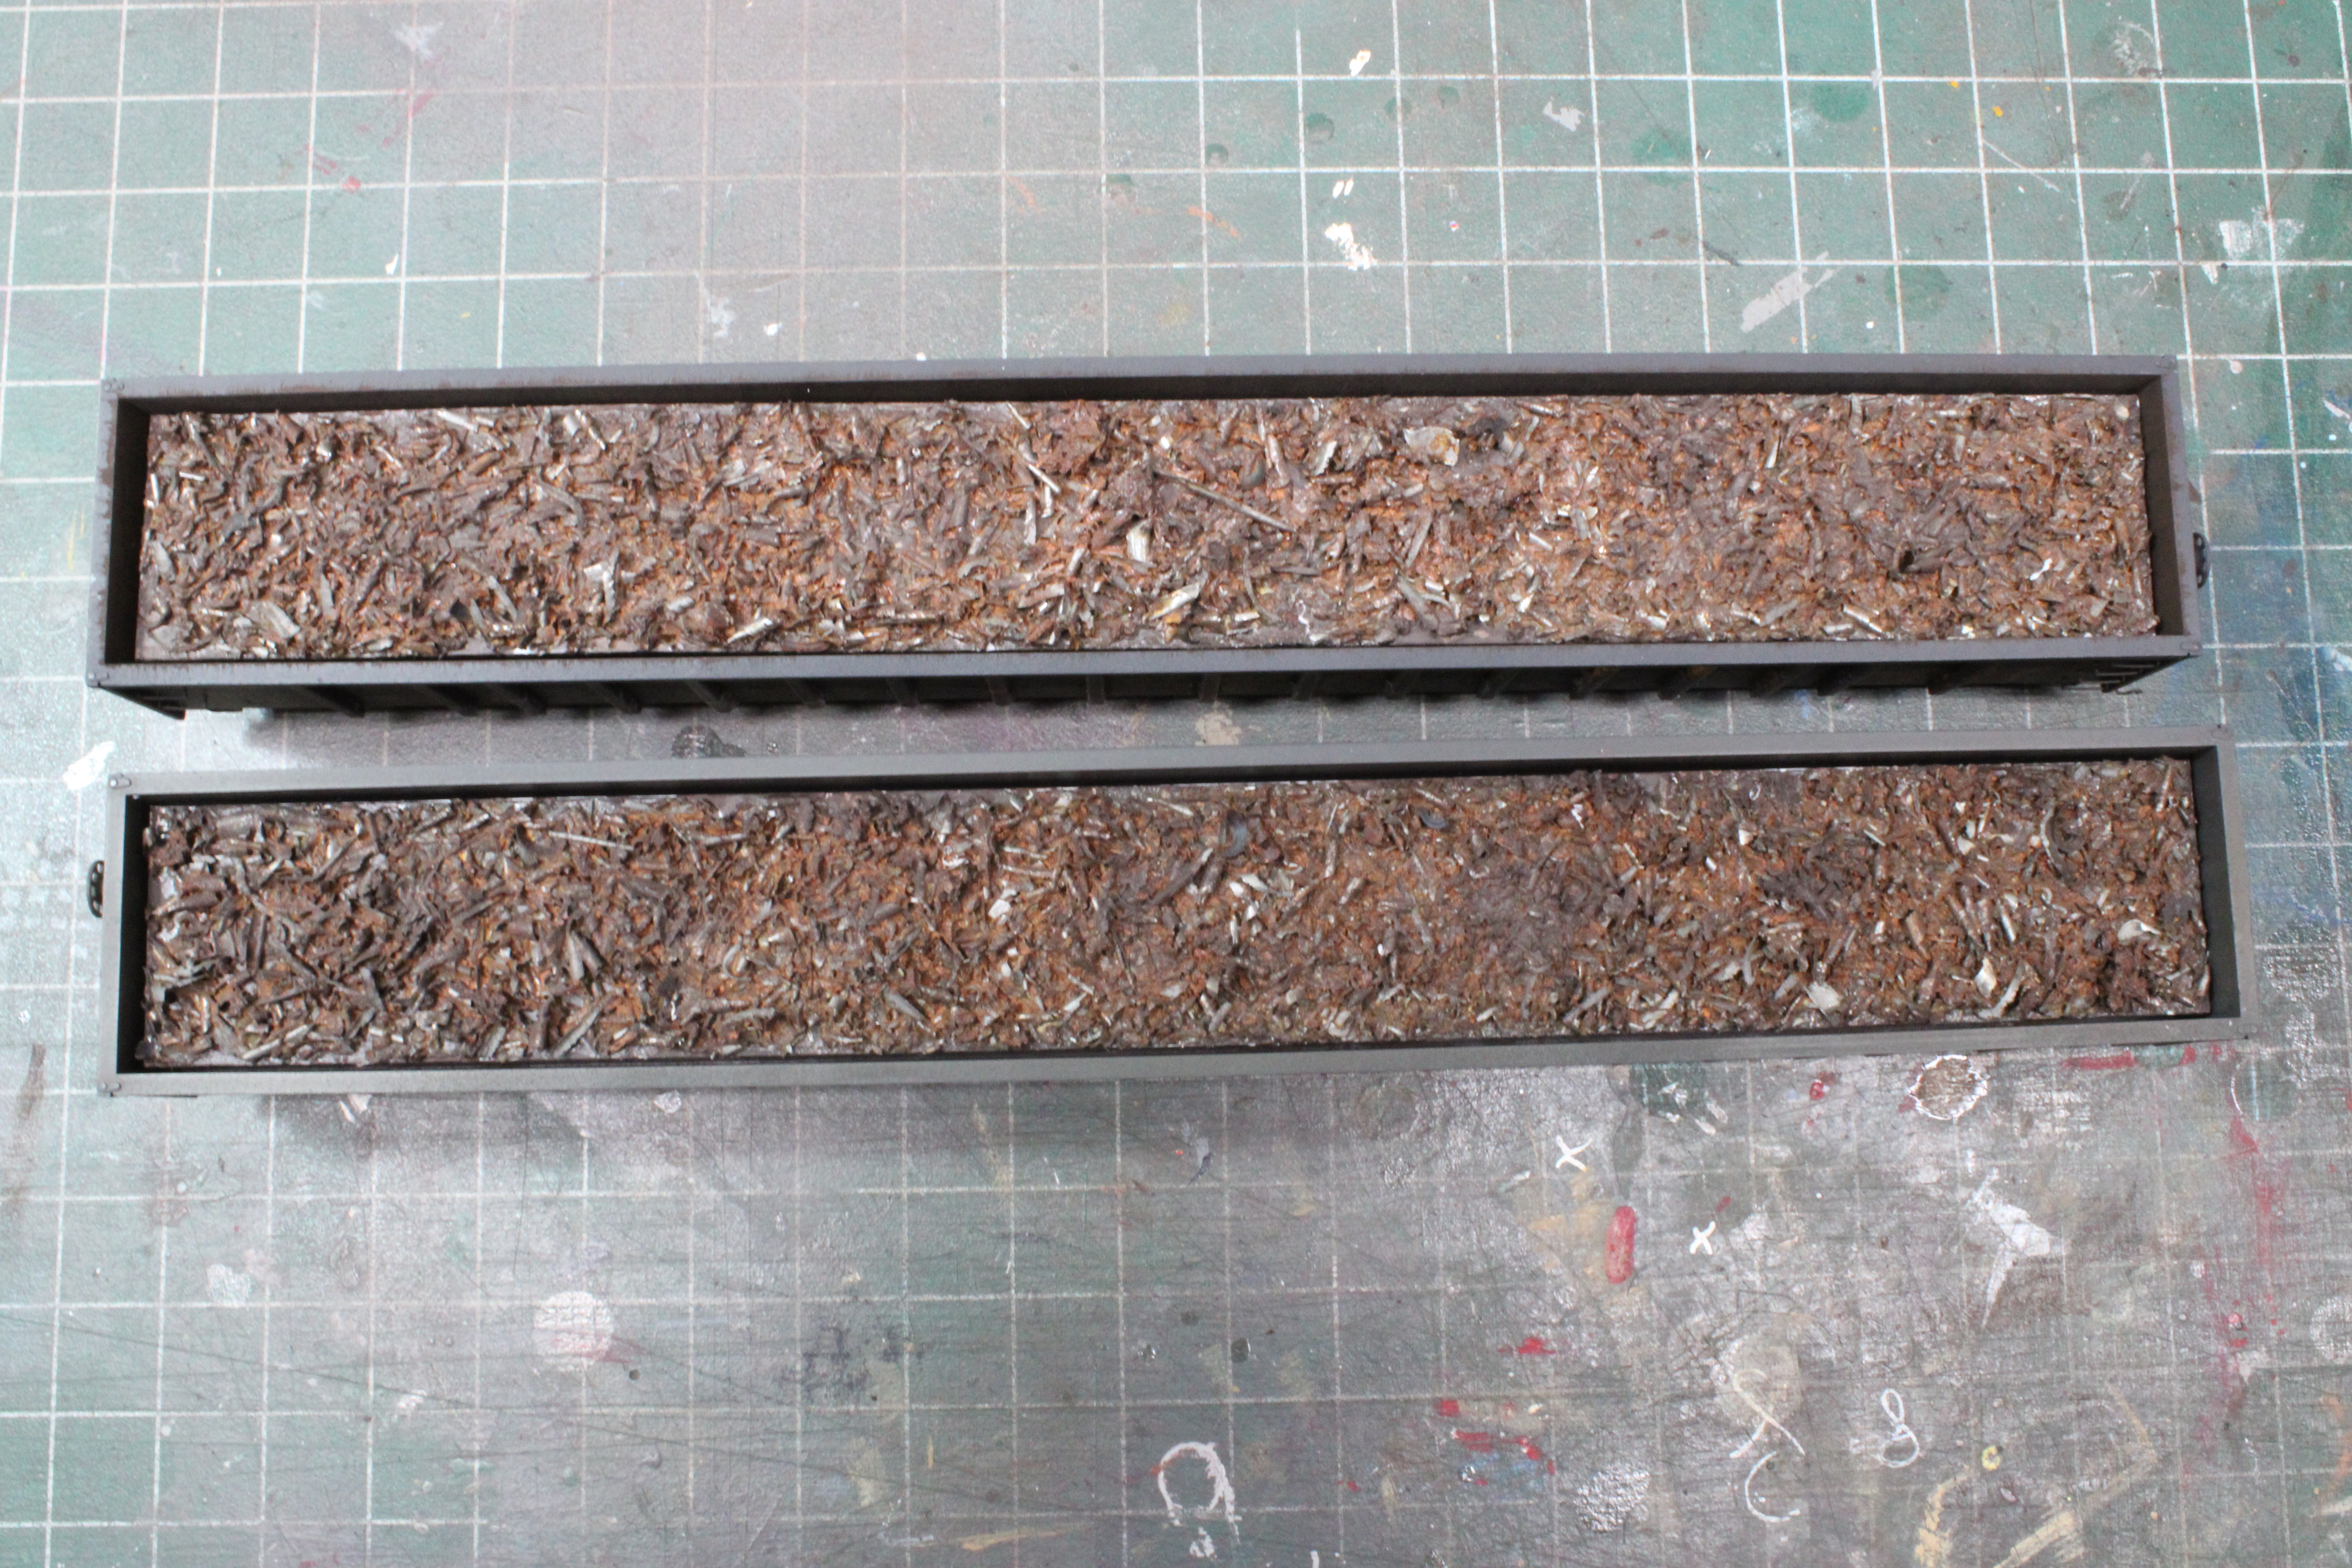
This is how the "auto parts manufacturer" on my GTW line looked a couple of weeks ago before I started to modify it to better suit the 86 foot boxcars that generally get spotted there:

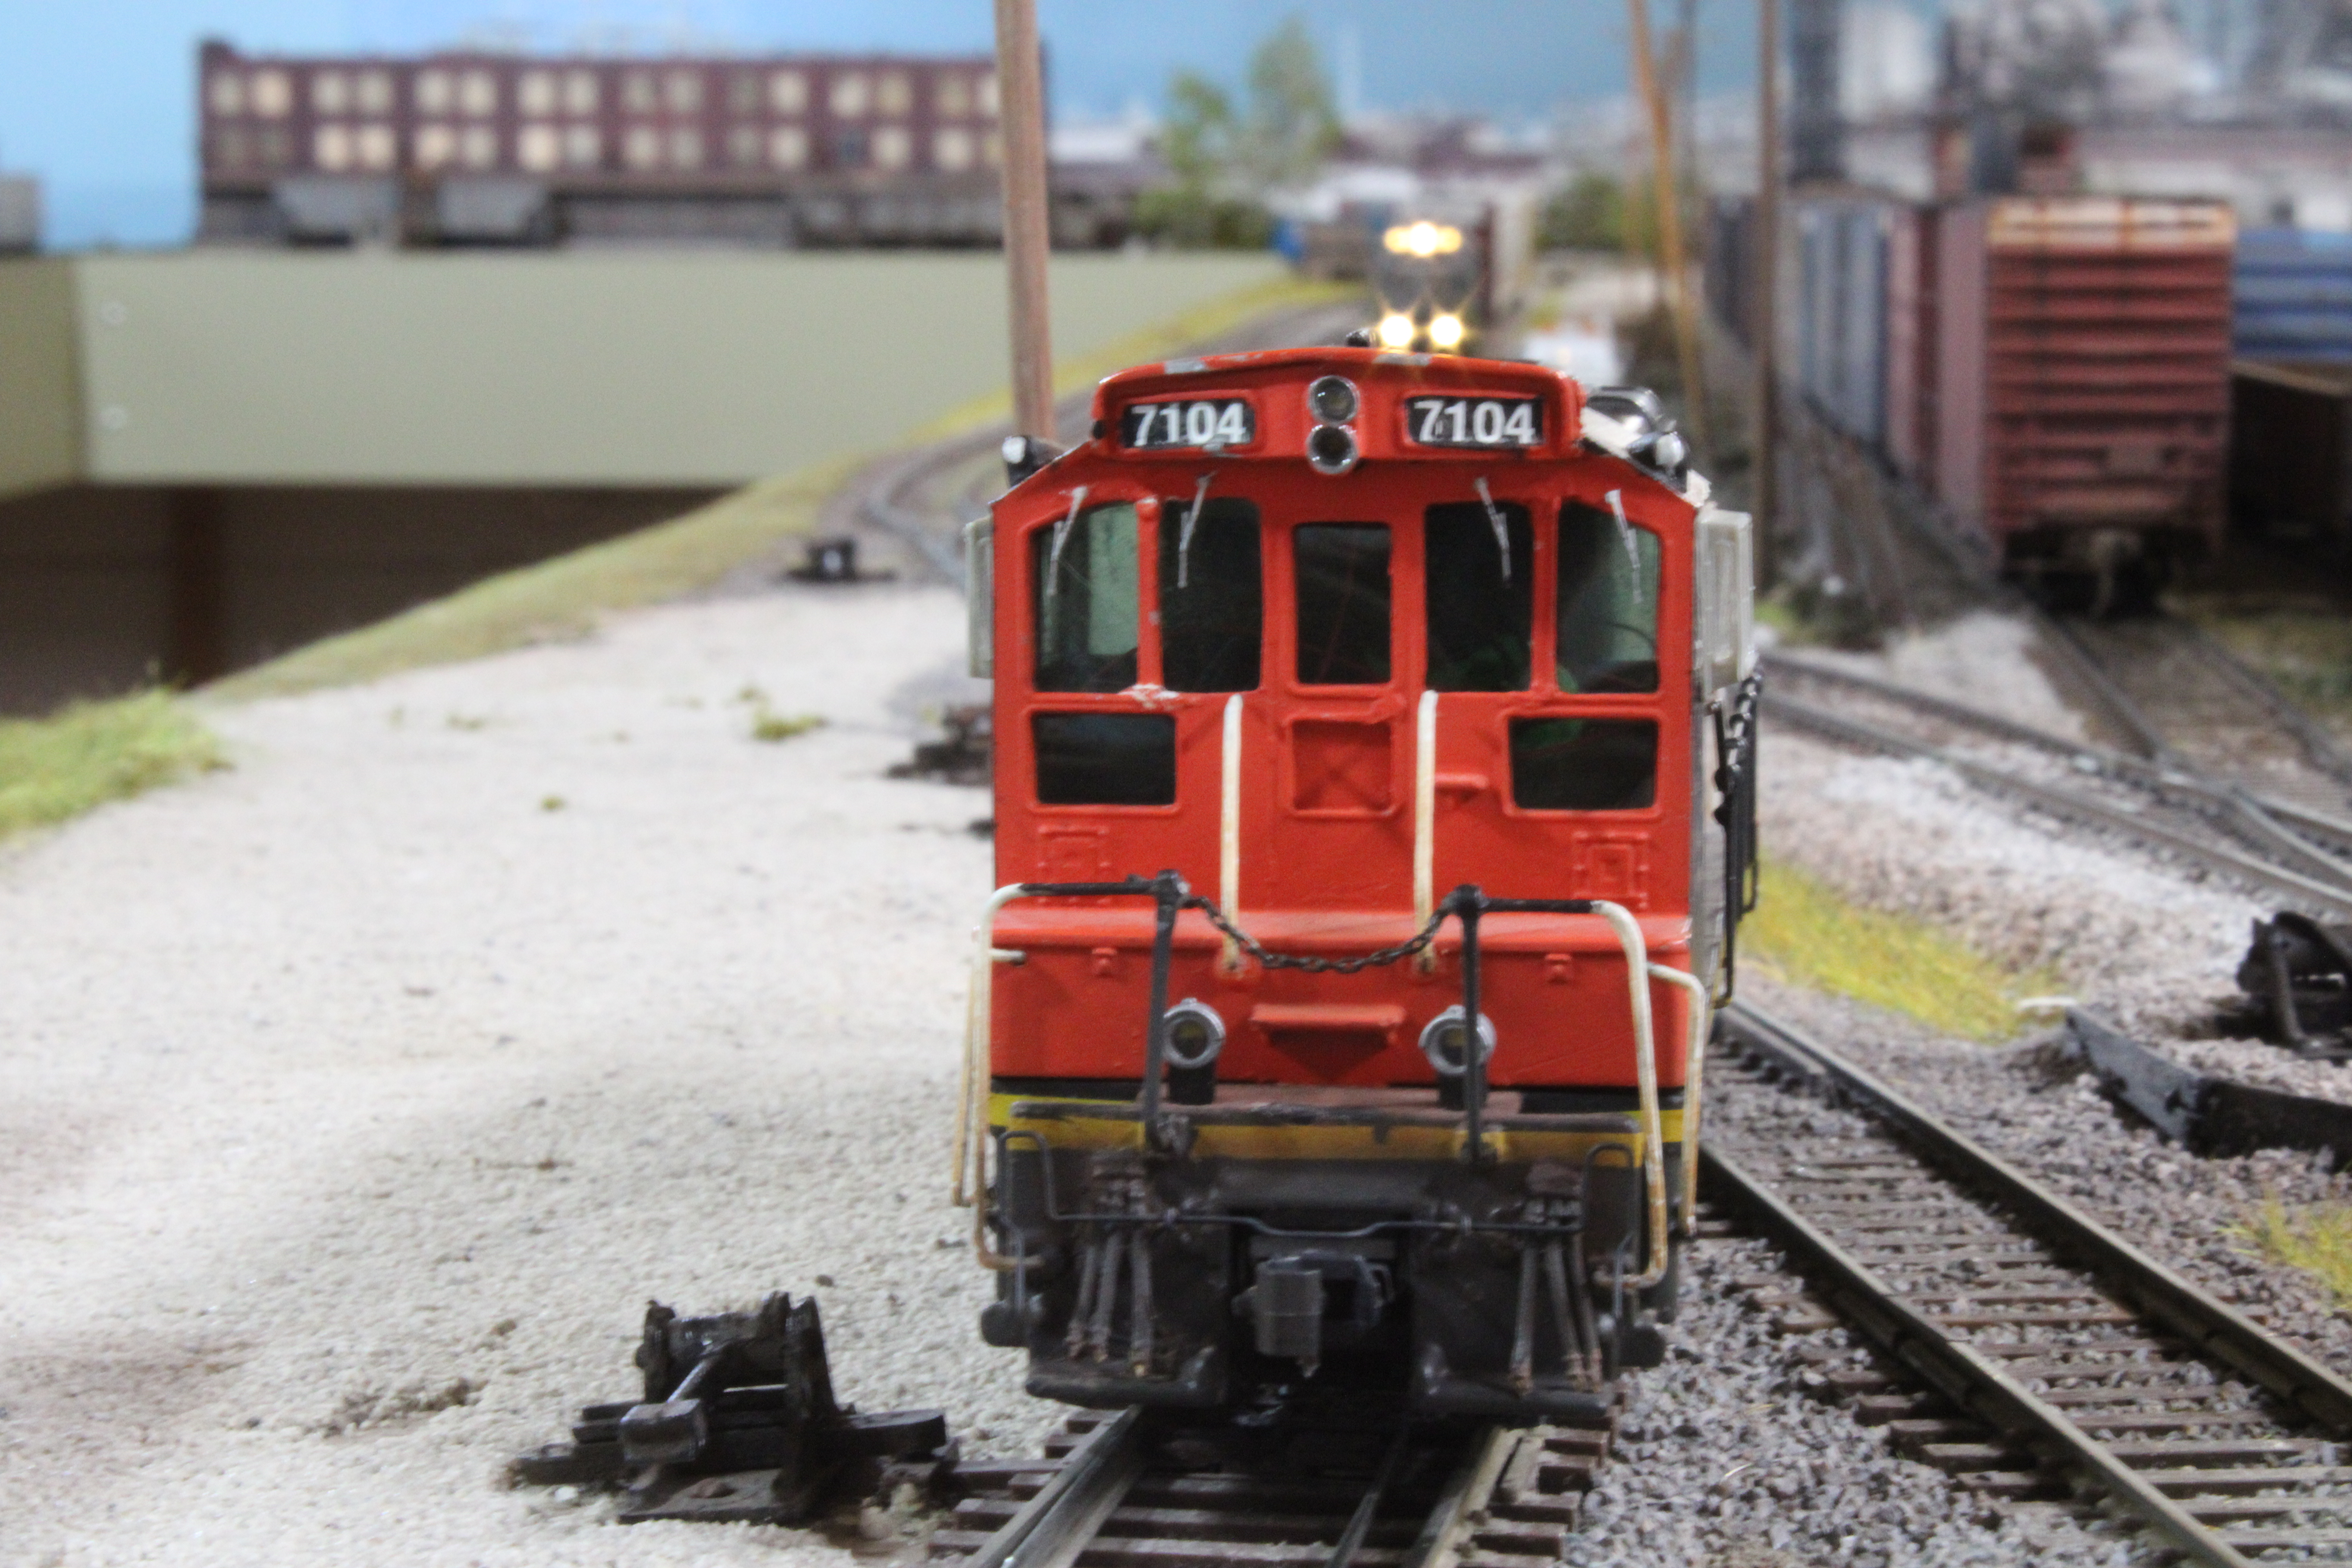
And below, we have a look at the end section after it's been modified

I added piece of vertical pipe - actually a piece of parts sprue - to try to help disguise the seam in the wall. A short section of track is also added to reach the end of the MDF.  Along the way I also clumsily managed to damage some of the fencing in front of the track, so I've cut that section out.  I'll have to make a new piece to replace that.
Track is in and painted, some rust powder along the ties, coarse ground cover, new section of fence, and the track bumper in place.

After I cleaned the rail heads, I lifted the whole structure module back over to it's place on the layout and tested it out with a six-axle engine.  Power to the entire track is evidenced by the headlight operating the locomotive.

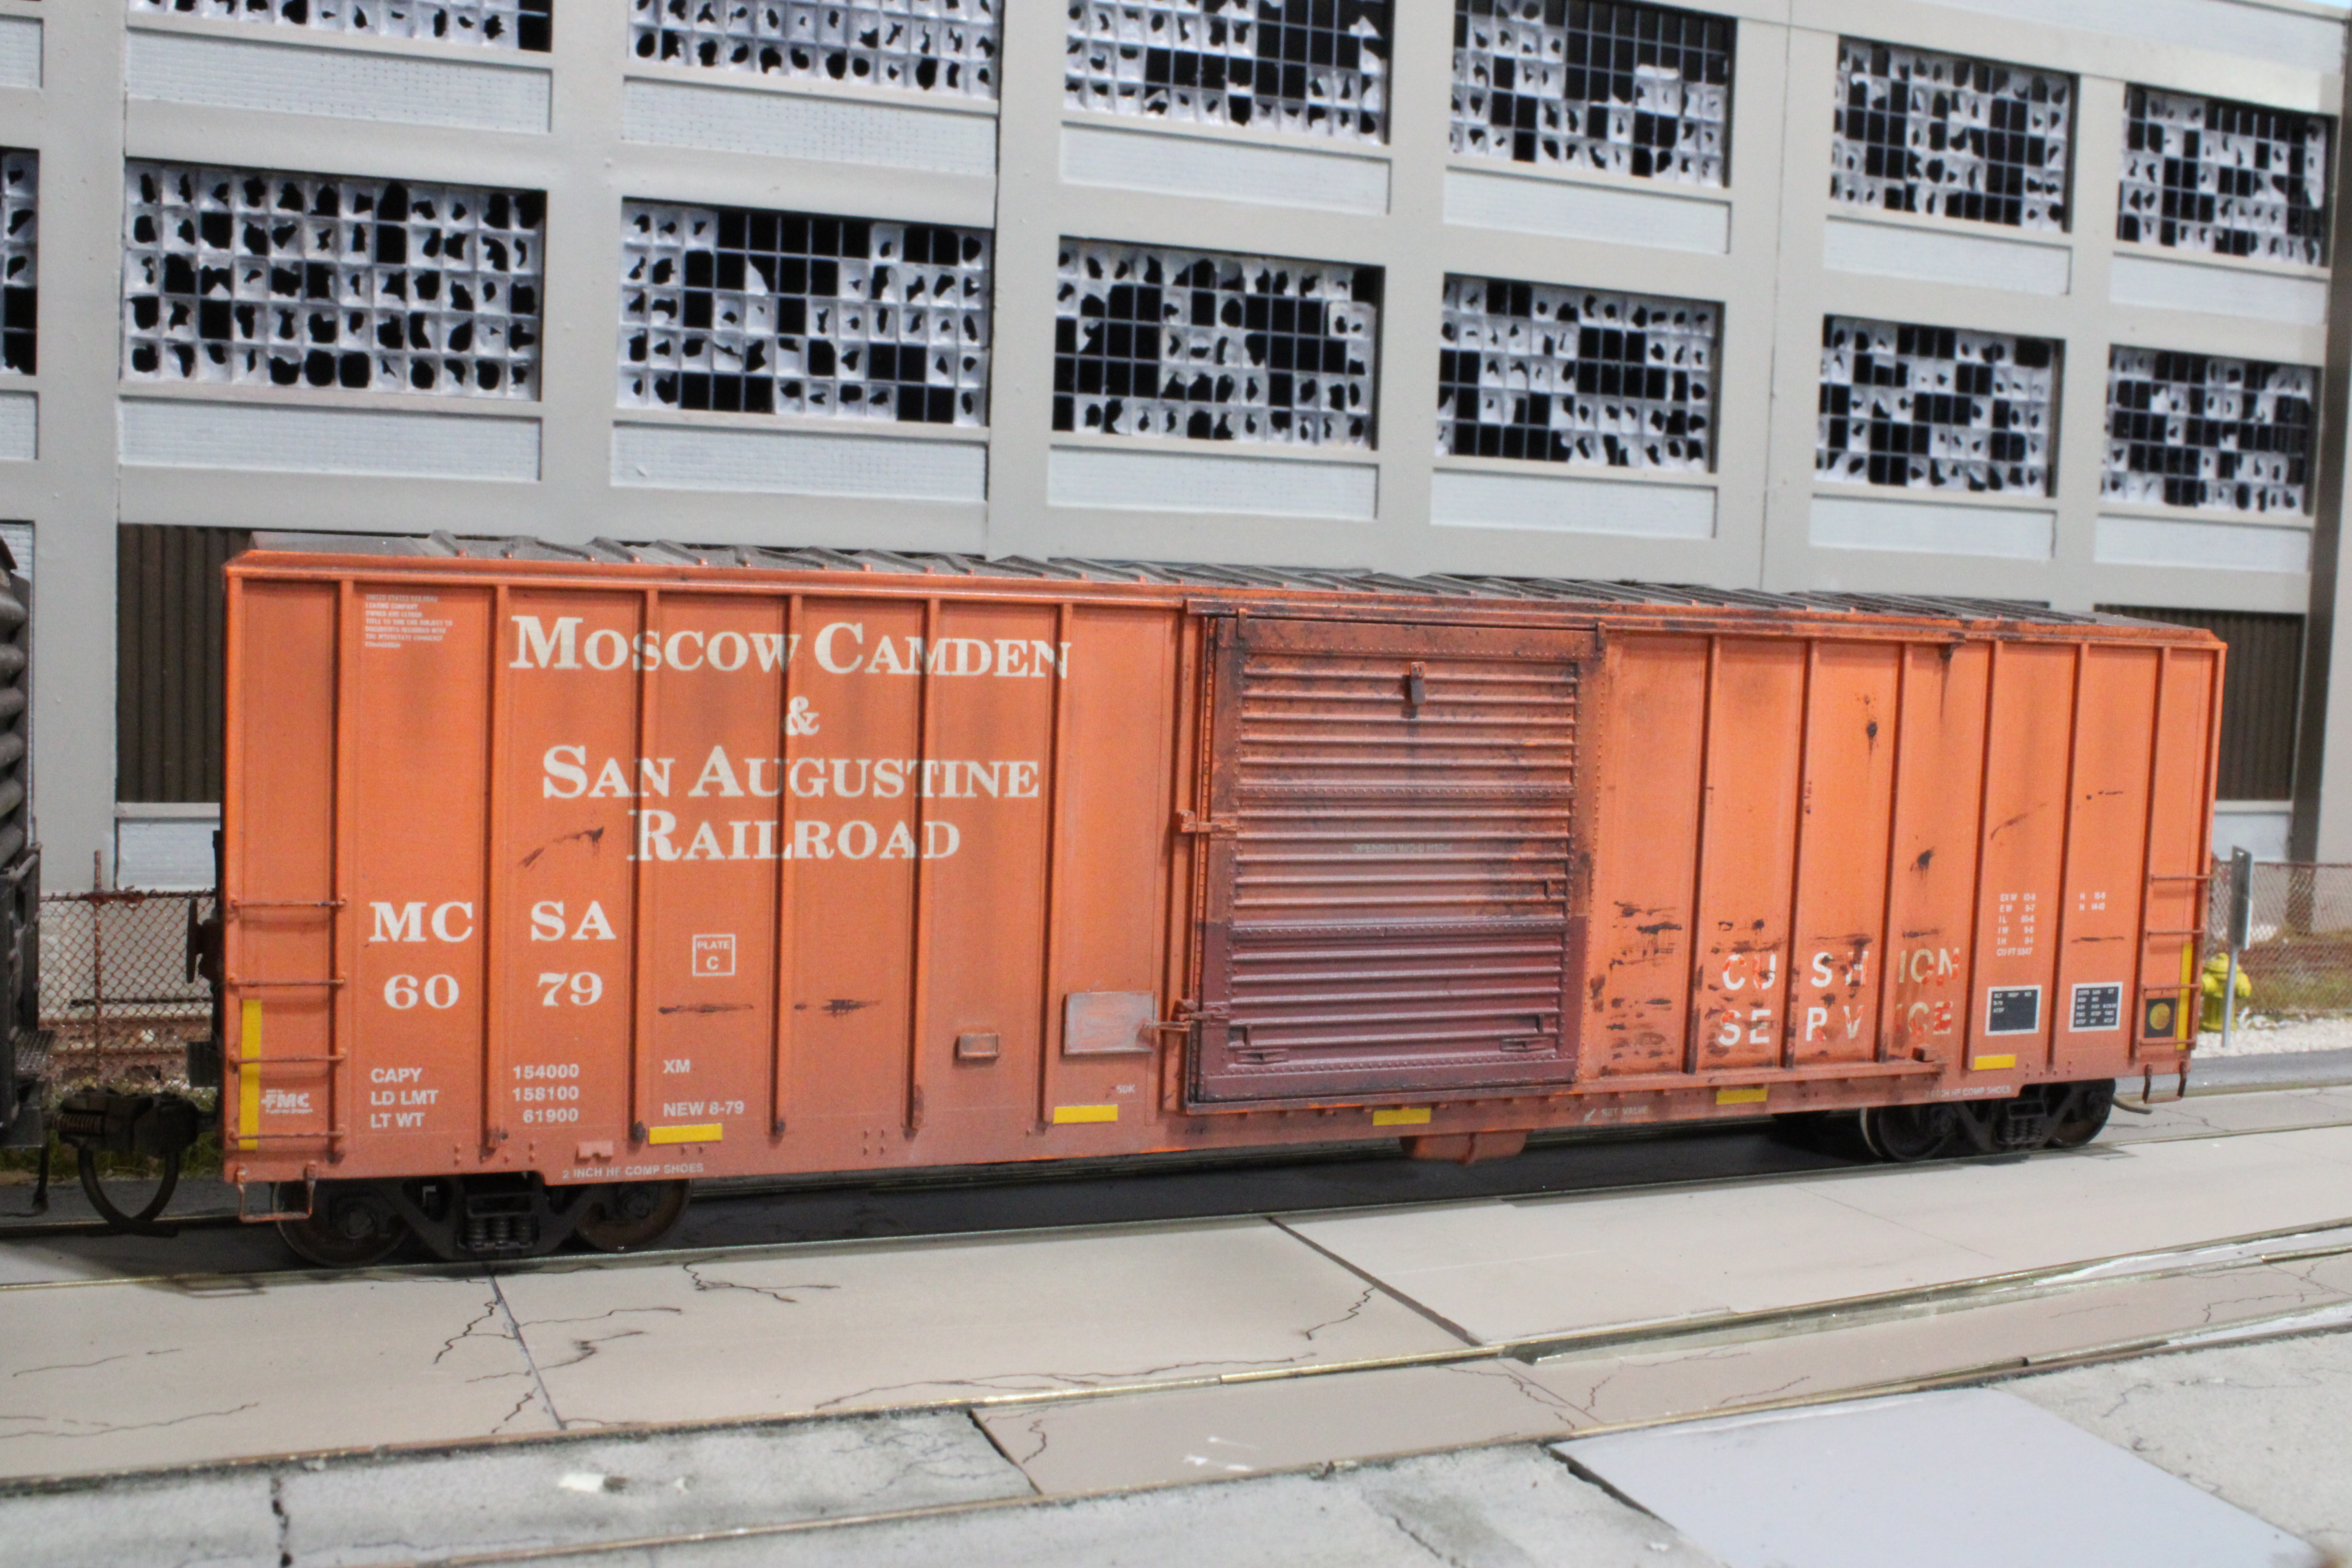
I know there's probably not a big visible difference to most of you, but with that offset wall removed we have 3 86 footers spotted at the plant instead of two as before. And fitting the space quite nicely, just as I had hoped.  You'd almost think I knew what I was doing. Almost.

I've omitted putting a gate at the rail entrance.  It should have one, but I'm thinking of actually relocating the whole module some time in the future and making the building and spur longer so it could perhaps take another car or two.  We'll see.

So, that'll be it for 2022.  Thanks for looking in here, I appreciate it. And I wish everybody a Happy New Year.


Friday 23 December 2022

Fixing Up Structures (Part Two)

I left off last time as this structure was about to make a trip over to the workbench to have the roof cleaned up a little.  Well, that's done, including gluing down the roof vents onto the left hand end of the roof. I also added one more similar vent that I found I had on hand, and a couple of small ones at the other end of the roof.

All set to go back into place on the layout.

Next up for such maintenance is this pretty large industrial building.  This building is just shy of 49 1/2 inches long, and I spot my 86 foot boxcars at it. It will get a little bit more that a dusting though.  See that sort of bump-out at the far end of the building?  I want to take that off so that I can extend the spur track by the extra five or so inches.

If I take that offset out and extend the track, I think I'll be able to spot an extra 86 foot boxcar in there. If I put 3 of the big boxcars in here now, they look kind of like they're "forced" in there. 

This is the section that I want to modify

And after a few minutes of work, the short wall section is removed and lying on the bench on it's way to the parts box in case I ever have a need for such a thing. The depth of the end section of the building will be trimmed a bit and then put back in place. Not sure just yet, but when the track is extended I might need to add or relocate a loading dock door too.

That's as far as I've gotten with this project.  I hope to have it finished up real soon.

In case you somehow missed it, there was a pretty wild truck-train crash in Tennessee this week.  The truck was carrying a 120 foot-long concrete I-beam intended for a nearby overpass project. The two train crew members suffered minor injuries.  Here's the link to video of the collision.

https://www.youtube.com/watch?v=osO5jkxSP_A

And drone video of the aftermath of the crash:

https://www.youtube.com/watch?v=S8TOHUYmbZc

I hope you all have a very Merry Christmas and very Happy Holidays.


Friday 16 December 2022

Fixing Up Structures

I decided to finally get around to doing a little clean-up and maybe some minor improvements on at least one of the industries on the layout. With the open floor joists above the layout, dirt and dust and stuff does fall from above and land on things.  Over time things do become a bit unsightly.

I could use a bit of a break from weathering freight cars anyway.

I decided to start with an easy, but important one, which is to clean up the Midwest Plastics plant.
The building, track, and fence are all mounted on 1/8th inch MDF.  All I have to do is slide the rail joiners back, and then I can lift the whole thing right out and carry it all over to the workbench.  I expect it will get there in one piece.

Made it to the bench at least!

This is the type of stuff that falls from above onto the building
Vacuum cleaner and a soft brush to clean up

I must have let myself get distracted (which would be typical of me) 3 years ago when I put the buildings together because the rooftop vents (Walther's kit parts) have been just sitting on there loose the whole time. I'll add one or two more and glue them down.

I framed in the overhang on the roof with some I-beam painted with red primer, and added an extra vent on the roof and one on the front near the window. The air unit got some light weathering, a door to the roof was put into one wall and a random piece of piping installed too. There were a couple of marks on one silo, so I painted on a couple of small rusty coloured patches.

Once I get MidWest Plastics back in place on the layout, I'll move on to this backdrop structure, doing much the same thing.
This place was never served by rail. It was meant only to fill in space along the backdrop.  The vents on the roof here haven't been glued in place either.

Friday 9 December 2022

GNTX RailGon

As GNTX was spotted into the metals recycler spur, I was thinking that it looked a little plain. I cut out a bunch of graffiti decals (I know a lot of people "don't like graffiti", but I figure it's here to stay and I try to be somewhat modern on the layout) and applied them along one side of the gondola.

This will more or less match with another gondola of the same type.

RailGon 297391 in the metal recycler spur.  Some time in the past I had sprayed the gondola with Rail Brown.

Rail Brown was also brush painted on the inside of the gondola

Here's the gondola with the graffiti from a variety of decal sets. I dulled down the decals using the airbrush loaded with the same Rail Brown as I mentioned above.

I decided I would do a bit on the inside as well, so I thought I'd make up a removable floor. I've made removable false bottoms for empty gondolas before, but I still needed one for this car.
Starts with a simple piece of .040 styrene that is cut to size to be able to drop in

Brush painted with 3 or 4 coats of brown craft paint

The top piece here is the new one, with a little bit of fine patio stone sand glued in place.  It was then coloured with some rust powders and a couple of drops of Tamiya's Panel Line liquids in black and brown.

False bottoms dropped into two gondolas, the new one at the top in the photo

And the scrap metal loads that I made previously just drop in right on top of the false bottom pieces.

Changing gears now,.. A few weeks ago,  Brian Smith sent me these following 2 pictures from the vacation trip he took to Europe with his adoring wife Laura.
Brian titled this one Railyard in Rome.

I don't think I've ever posted passenger or commuter photos on here before. This is real nice looking equipment, taken I think in Spain.Note the catenary wire.

Friday 2 December 2022

PROCOR Pellet Hoppers from Rapido

I'll get to the pellet hoppers in a second, but first I like to point out that I've changed up the header photo for December to one of SWeep 7104 passing under the Gratiot Avenue overpass on the JSSX.

I've been wanting and hoping for years for someone to produce the 4-bay rib-sided plastic pellet covered hoppers that I see at the Sarnia yard so often.  Either the Pullman standard type or the Procor type would be fine with me.  Both kinds would be even better, but I'm not sure that would actually happen.  And to me, the differences appear to be very slight anyway.

This car has had the original PROCOR lettering blanked out and the reporting marks are re-lettered to ICRX

A little more weathering on this one

The PROCOR lettering has been blanked out separately on each panel on this car

But enough of the prototype pictures, all of which I took myself down at C-Yard here in Sarnia by the way.

Rapido has actually come out with really nice models of the Procor-built cars, and I ordered two from the Otter Valley Railway late last Wednesday afternoon.  They arrived at my door Friday.  I bet that if I'd ordered them a couple of hours earlier in the day, Otter Valley would have had them here on Thursday.

I would have liked to get three of them, but with the price point being what it is plus shipping plus HST taxes, I settled for just two. I ordered one with the blue lettering and one with black. Here they are just on the workbench.

Rapido provides spare roof hatches for each car. I guess in case I somehow lose them off the models. There's also an information/history sheet included with the models.  There's no air line piping running on the underside of the models, but that's okay with me because I'd probably accidentally break it off sometime anyway.

The model with the black lettering has two different styles of roof hatches.

Just the round hatches on the roof of this one with the blue lettering

Here they are being shoved into the MidWest Plastics spur on the layout.  I wouldn't normally put new freight cars out on the layout without at least painting the wheels on them, but I did it this time.  I have added the yellow reflective stripes and I sprayed Tamiya Clear Flat over the cars to take down some of that brand new model shine.

Any other weathering is going to have to wait. At 5280 cubic feet and over 62 feet long these make really nice models, and I'm happy to finally have them.

Friday 25 November 2022

CN 7104 SWeep

On a couple of recent posts over at George Dutka's White River Division blog (link at the sidebar), Peter Mumby has contributed features including the CN SWeep type engines.  I've got one in HO scale here that sees occasional time out on the layout, so building on Peter's posts, I'm going to feature my model of 7104 this week.

I kitbashed this model many years ago from an Athearn SW 1200 and an Athearn GP9 (or 7), and some Juneco parts that I found somewhere or other.

The model never really ran very well though, always stalling and jerking as it ran.  Never mattered how much I cleaned the wheels. I even swapped out the motor from another SW1200 to see if that might help, but it didn't really do much. One day I took it in to Pete's Trains in London and asked them to try to clean it up, convert it to DCC and add ditch lights, all of which they did.  Truth is though, that it still never really ran properly even after that.

The front end of 7104 on the programming track as the SWeep sits outside of the JSSX maintenance building.

DCC circuit board (not sure of the manufacturer, but maybe TCS) and the jumble of wires for the ditch lights installed by Scotty at Pete's Trains in London, Ont.

One day I was looking through the Athearn web site, and just by chance happened to see their locomotive wheel sets listed as replacement parts. My thoughts flashed immediately to the SWeep and I wondered if maybe new wheels would help it run better so I ordered a set.
The wheel sets come in a package of 6, but of course I only needed 4.

I'm no locomotive technician by any means, but I did manage to replace the wheel sets in the SWeep, and WOW, what a difference!  7104 runs like a charm now.

I've often thought of blanking out the CN logos, and re-lettering it for the JSSX.  Maybe one day...

In this side view 7104 is showing some wear and tear, with a few paint scrapes and cylinders damaged or missing altogether from the trucks.  I really should try to find new parts and add them.

The end view of the cab.  I've always thought that the five vertical windows make a cool feature on this model

Side view taken underneath the Gratiot Avenue overpass on the JSSX line

A view with the ditch lights activated

My 7104 coming around the bend as it returns to the yard

And finally for this week, this image of CSX at Fairport, NY after the big snowstorm last week.

Brrrrrrr...

Friday 18 November 2022

MCSA Boxcar 6079

This week I thought I'd feature this Athearn FMC boxcar that I've had for a few years,  Moscow, Camden and San Augustine is an almost 7 mile long line running from Camden to Moscow, Texas where it interchanges with Union Pacific.  It's owned by Georgia-Pacific, so hauls plywood and other lumber-type products.

I didn't know any of that when I bought the boxcar.  Truth is, I just thought the orange colour would stand out a little bit on the layout, and I liked the name. Very few pictures of these particular cars on my usual internet reference sites, so I had to "wing it" for the weathering.

Have a look at MCSA 6079...

I scuffed up the door with some rust and added some dust. Some boxcar red on the lower 3rd of the door. And a few scratches on the panels and ribs.

Roof view

For the other side, the door is repainted in Primer Gray.

Roof view from the other side.  Also, as I try to modernize things just a little bit, I recently added the reflective stripes.

Changing gears now to different item, below is a link to video of the very nice looking layout of the Tri-State Model Railroaders in Mineral Bluff, Georgia.  This was posted to YouTube by Thomas Klimoski.

https://www.youtube.com/watch?v=8rGqwmWAmxQ

Friday 11 November 2022

Roberts Printing Finished Up

As promised last week, here's the finished-up Roberts Printing building from Walthers.  And as I've said before, I really enjoy putting this kit together.  There is actually one more thing that I should do to this structure. I can see through the windows right through the building from one end to the other, so I think I'll cut up some cardboard for the interior to block out that possibility.  But that can be done later.  For now, this is it...

The main entrance/front side of the building. I find the ends and back to be much more interesting.

The rail dock door is inside the "tunnel".  High Cube cars are too tall to fit under there.

I painted the truck dock doors with Brick Red craft paint, and then added a few drops of Tamiya's brown and black panel line liquids.

The back of the building.  To add a bit more interest, I fashioned the rusty pipe between the 2nd and 3rd floors from some of the kit's parts sprues.  4 of the windows are closed in with pieces from a cement block sheet that I keep on hand.

The end with the fire escape.  It's a bit tricky to put together, and probably not the safest thing around as Walthers hasn't included railings for the inside of the walkways.
To blank out some of the windows, I used Mylar that was offered and sent to me by Mark Thorp.  I cut it into little bits to fit the individual windows and then used just the tiniest dab I could of canopy glue to hold it in place.

And the lights are on SD40 5931 thanks to Sean...

Two weeks ago, I wrote on here that I was wishing that the headlights on SD40 5931 in the header photo had been turned on when I took the picture.  Well, on this past Monday, friend Sean Steele sent me an email with that photo attached, but headlights and ditch lights activated.  Much better ! The header photo is replaced now, and just to save the trouble of scrolling back up to it, here's the picture below.

I'm leaving this as the header photo for the rest of this month