Saturday 26 January 2019

Chapstick...And also some interchanged boxcars too.

I've been having trouble with my airbrush.  Simply put, it was just not spraying properly, if at all. I cleaned it and reassembled it over and over again, and it didn't make any difference whatsoever. I've had it for a few years, but something has gone wrong and I couldn't figure it out.

It's an Iwata bottom feeding type airbrush, meaning that it draws paint up from a bottle that hangs below the airbrush, by means of a vacuum that's created by the air rushing out the spray nozzle. That same air atomizes the paint into a fine mist, and for my purposes, the finer the spray, the better.

I actually think I made a mistake buying that type of airbrush. That's not to say anything's wrong with Iwata, but the bottom feed type isn't what I should have gotten. I think should have bought a gravity feeding type, with the paint cup, or reservoir on the top of the machine, but I didn't know that at the time.

Exasperated with the poor spray, I finally went on the manufacturers' (Iwata) website, and wrote them a note outlining the problem and my frustration. And about 4 hours later, they got back to me by email with a suggestion, which at first I thought was a little bit off the wall. But then I thought maybe there actually was some logic to it.

Their suggestion: Chapstick. Yes, the lip balm stuff.

They figured that the nozzle wasn't seated tightly enough into the outlet end of the airbrush. They said that if I were to apply some Chapstick - or some other soft wax - to the nozzle where it fits into the airbrush, and also onto the threads of the end cap, it would improve that seal and increase the air pressure which would improve the suction of the paint out of the bottle.  So, off to the store I went.

I applied the Chapstick to the right hand end of the nozzle (pictured in front of the Chapstick) which then fits into the large opening in the end of the airbrush.  I also gave the threads around the end of the airbrush a coating of Chapstick too.  And guess what...it actually worked. Quite well in fact. The paint sprays just fine now.  As it should. Problem solved.
Iwata also sent along a link to a very thorough video of how to go about cleaning an airbrush.  Here it is:
https://www.youtube.com/watch?v=kCsWug3n2U4


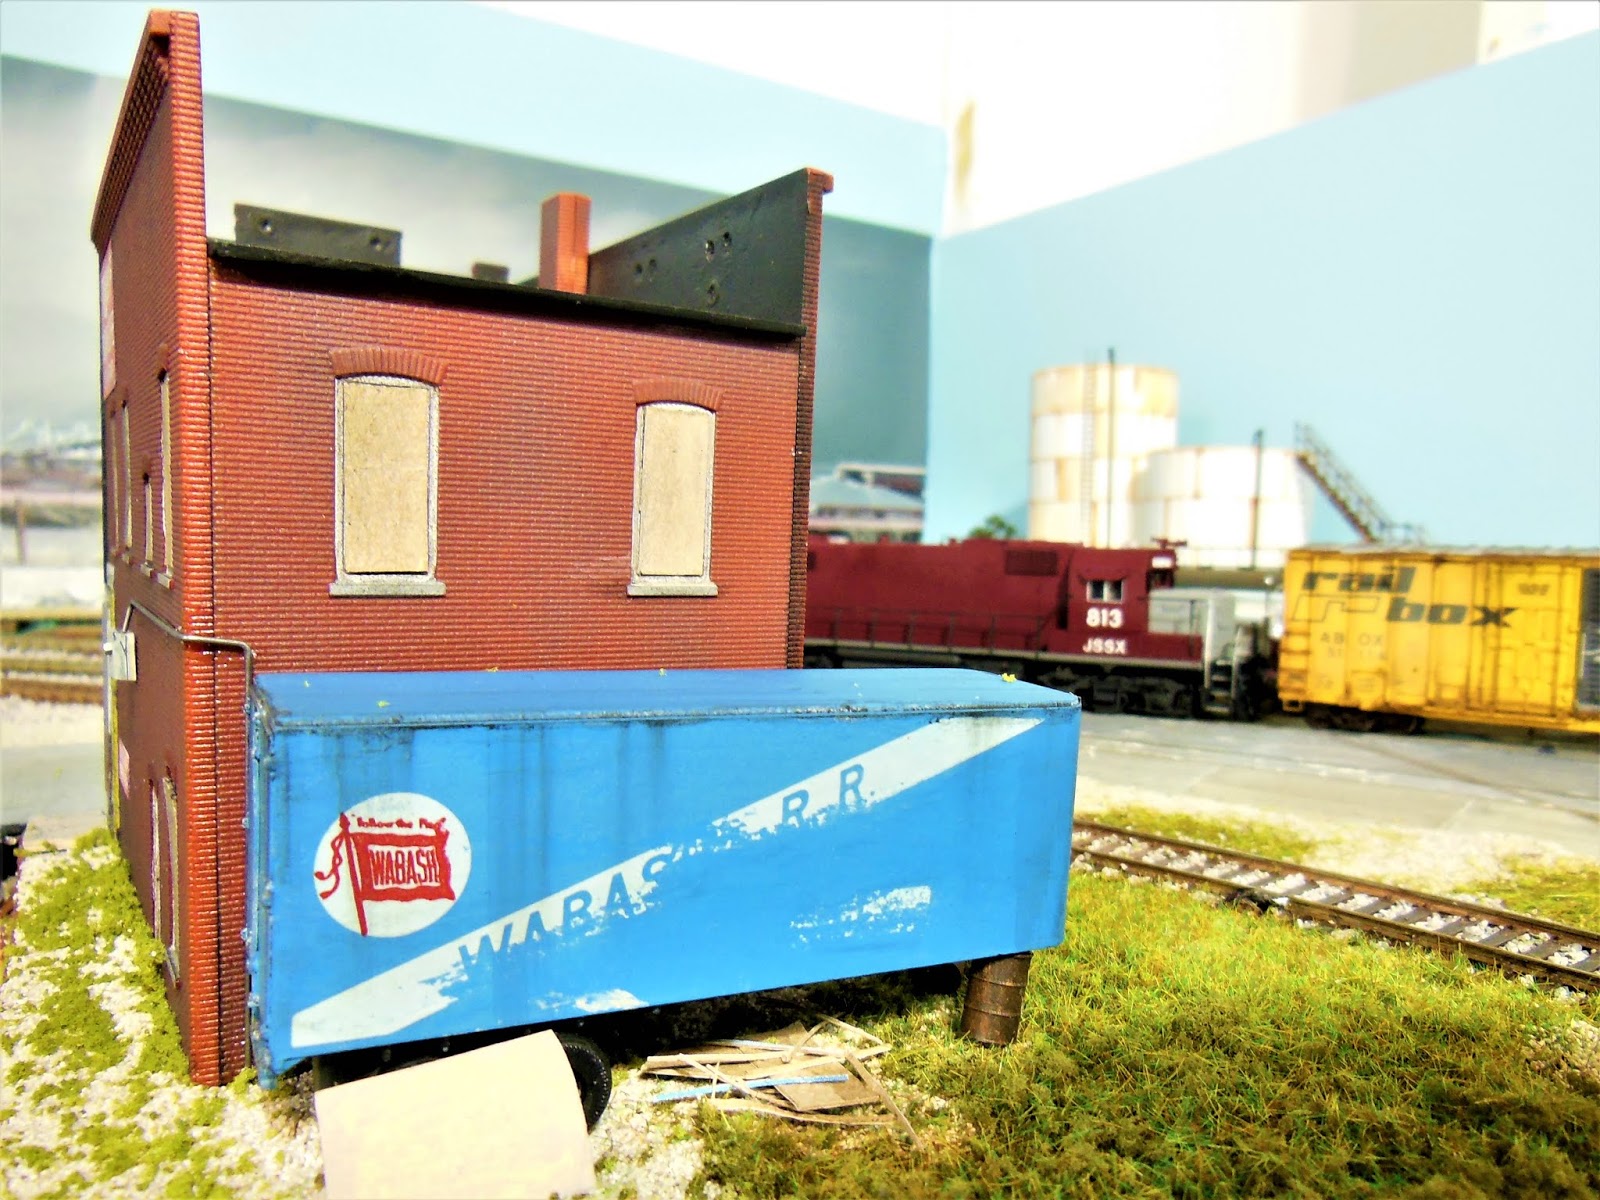
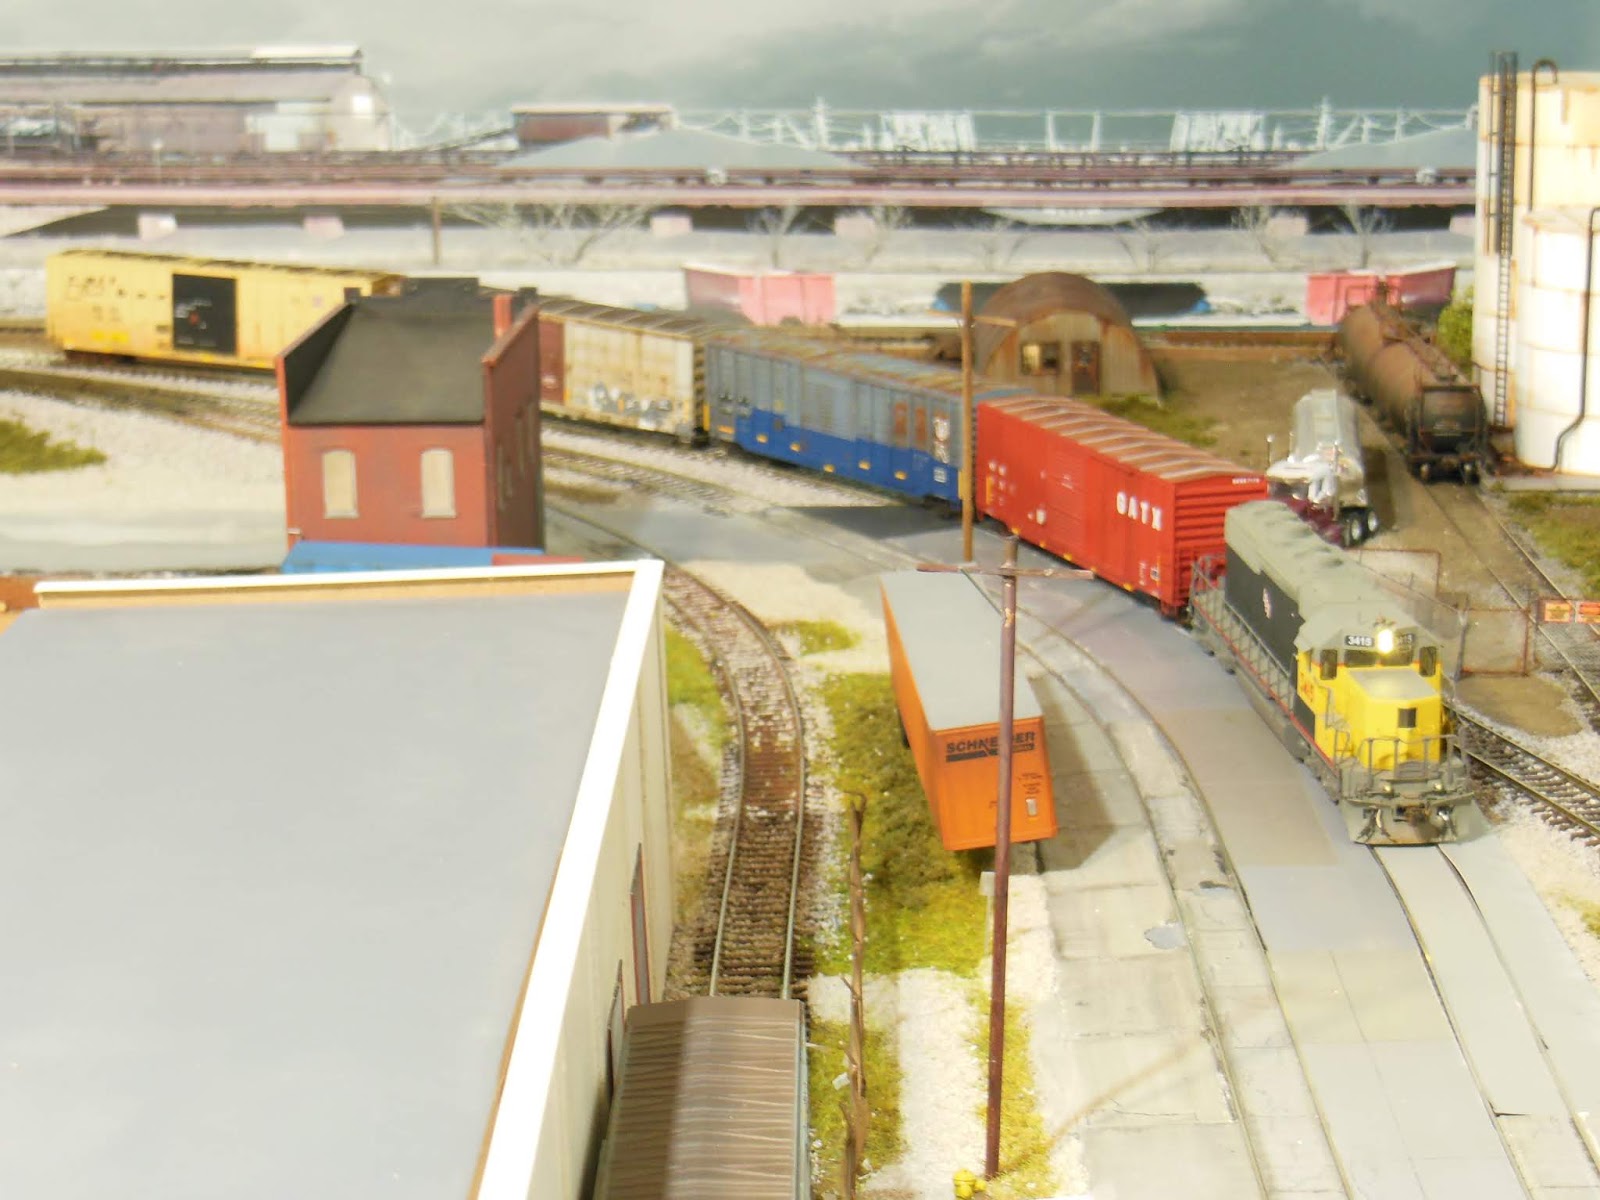
My friend Luc Sabourin, CEO of the HO scale BRAR Railroad, visited this week and brought along a few freight cars from his collection to interchange with the JSSX.

Here is my LTEX leaser SD40 pulling those four boxcars onto South Industrial Ave., where they'll soon be spotted at the local warehouse. Photos of the individual boxcars follow.  Thanks for bringing them over Luc. If only I could get my painting and weathering up to the level of art of these cars...

Luc's WRWK 7170 and RBOX 31458 are examples of the very fine custom painting and weathering of John Bezuyen.


These next two boxcars are the remarkable custom work of Steve Wilder. The waffles on KCS 21022 were made and individually applied by Steve.  And just spend an extra moment to take in the roof on CSXT.


Saturday 19 January 2019

Post Number 100

Well, this is the 100th post on my JSSX Railway blog. I started writing this blog for about 3 reasons...1st, just to see if I could do it, 2nd, to give me a little something more to do, and 3rd, I thought it might help keep me going as I chip away at my railroad.

I guess there should be confetti and balloons falling at this point, but I thought I'd just look back through some of the first 99 posts.

From the very first post, back in September 2017, here's JSSX switcher 1317 sitting outside the short-line engine shed.


The abandoned and boarded up tower from November 25, 2017. This is actually my 2nd model of this tower, as I totally messed up the first one when I warped and shrank several pieces of the wooden laser-cut kit. Well, I'd never put one together before...I didn't know it would warp or shrink. Lesson learned.


From December 17, 2017 here's an early view of the extension to the JSSX shortly after I had started working on it.  This area had been the main focus of my efforts for the year.


And the same view from just 3 days ago.  It was originally intended to be served by the Grand Trunk, but after careful consideration I've changed that just in the last couple of weeks. I think the short-line is better suited to switching this area, so now it's JSSX territory!


From April 10, 2018, is my scratch-built model of ACME Welding.  Very pleased with how this model turned out, as I'd never really scratched anything before. I worked from photos I'd taken of the prototype welding shop in London, Ontario. You can see where I've located it, in the photo above just to the right of the abandoned tower.


June 16, 2018 featured this closed and abandoned warehouse, a favourite of mine, which sits just beyond the JSSX freight yard.  That's the JSSX work train sitting in front of the warehouse.


October 20, 2018 featured this ex-Milwaukee Road waffle box, which I'd weathered following a prototype photo. This was my 2nd crack at weathering this car, as I'd never really liked how it turned out the first time. The buildings in the background have changed since that time, as the one on the right is now grey brick (re-painted it one day), and the shorter building on the left is moved to another location altogether on the layout.


November 3, 2018 saw this new oil storage operation that has been tucked into a corner on the layout, providing a place for my tank cars to go and bringing additional traffic to the JSSX. Switching cars in and out of here is a little more complicated as it involves a switchback and a runaround track in the street.


And on January 5, 2019 this boxcar conversion was finished up, concluding about 3 weeks of off and on work.  It's a sister car to SP 615243. I like them both the way they are, so I have no plans to weather either of them


So, that's a look back at some of my favourite happenings of the first 100 posts on the JSSX Railway blog. Thanks for looking, I hope you enjoy seeing what I'm trying to do here and will continue to check in to see whats up on the JSSX.

Jim

Saturday 12 January 2019

The JSSX This Week, 01/12/19

I did a little more work on and around the small building that I showed here 2 weeks ago.  I happened to have the same old Wabash 24 foot trailer as had been shown in George's WRD blog of December 18th, 2018 ,so I figured if it worked for that modeler, why not me? My trailer is missing the landing gear, so the front of it is resting on a couple of rusty old steel drums.

I ran a silver Sharpie around the edges of the rear doors and hinges, and used red and white Sharpies to colour the tail light lenses. A little black grime is streaking down the trailer sides and roof, and a few old boards and stuff have been cast underneath.

As for the building itself, I thought I'd identify it as a closed down bar or something like that, which should fit right in with the "neighborhood". Of course the place should have a name. One of my nicknames, "Jimbo" came to mind, so I googled "Jimbos signs photos" and a bunch of them popped right up on the screen. I chose a couple of signs that I liked, straightened and cropped them in Paintshop, and printed them out.

A little careful trimming with an Xacto knife and some Super77 adhesive later and my signs are done and attached to the exterior of the bar. I did the same with the Parking and Miller High Life sign. I used that one to cover over the Pepsi decal that I had put on the side wall years ago.  I'm not really a Pepsi drinker anyway.

With 813 switching in the background, here's the view of the rear of the building, which is what is most easily seen on the layout.

The side and front views of Jimbos. Owing to the location and judgement of the owner (me), this business was unfortunately destined to fail.  Since Jimbo's has been closed down, the JSSX crews working along South Industrial Ave. have had to bring their own lunches to work more often.


And out there in the 1:1 world last Saturday, I saw GECX leaser locomotive #9130 about to be turned around at the Sarnia wye.  I don't remember ever seeing number boards with the railroad reporting marks and locomotive number on them before, so that was kind of interesting. 

Saturday 5 January 2019

That X-post boxcar is done, Krylon update, and a short video...

Last week I bemoaned the fact that I'd been unable to find Krylon Ultra Flat Camouflage Brown.  My friend Brian came to the rescue and brought me a fresh can of it on Tuesday when he came for a visit. I'll be putting it to use soon, as I've got a few freight car projects lined up now, and the wheels and trucks will have to be done.

I'm pretty happy that my Southern Pacific exterior post boxcar project is all done now, as the finishing touches were completed on Wednesday. Don't misunderstand, I'm not modeling the SP...I just really like the look of these particular 86 foot boxcars.  Sorry if anyone is tired of me posting about this project -3 times in a row now - but I try to follow through with my posts on projects until they are finished up.

I usually add extra weight to the inside of these 86 footers as doing so helps them to roll a little better. This time, I epoxied a couple of large steel nuts to the standard metal weight that comes with the car.  I don't think I'm going to weather this car, at least not in the short term, other than I've given the new metal wheels a dirty/rusty look.

As I mentioned in the past couple of weeks, this car has a few small differences to distinguish it from the one I modeled a couple of years ago.  It is labelled "Hydra-Cushion" on the right hand doors, the roof has 24 transverse reinforcing bars, there's a metal plate at the roof on both ends, and a couple of the decals are a bit different as well. As I said last week, I had to piece together the word "HYDRA" as it's not on the decal sheet.

Here's a look at the finished car out on the JSSX...It's turned out really well...

A view showing the roof with the reinforcing bars:

A nice look at the two sisters running together on GT tracks on the layout:

The trainshow in Woodstock, Ontario is this Sunday (tomorrow, Jan.6th) and I'm planning to go.  If I happen to find another suitable boxcar, I'm thinking of doing another one of these, but lettered for the SSW/Cotton Belt. The big white ball with Cotton Belt lettering would pose a bit of a challenge though. There's no decal "Cotton Belt" decal available in the same red as the boxcar, so I'd have to make one. The Mike Budde article from all those years ago shows how he handled that, so I think I could might be able to pull it off.

And to close out for this week, unrelated to anything above, here's a video (52 seconds) I took of the JSSX's short maintenance train. It's just leaving the storage track and is moving into the small JSSX yard, dragged by ex-CN switcher #1317...