Saturday 29 September 2018

The JSSX This Week 9/29

I posted previously about GMTX leaser locomotive 2001, which had suddenly suffered an apparent electrical failure. After extensive troubleshooting by the JSSX shop staff (me), it seems that the original Atlas Dual-mode decoder had given up the ghost, although I couldn't see any sign of anything on the decoder being burnt or scorched or anything like that at all.

So, shop staff removed the decoder and replaced it with the circuit board that Atlas now offers as a replacement.  This problem has happened to me once before, so that time I had a little foresight and ordered two of the replacement boards. The thing is though, that it's a circuit board only and requires an after-market decoder be installed as well.  I have had one basic 4-function Digitrax decoder in the cupboard as a spare, so I simply used that. Once I got around to actually working on this problem, it took only about half an hour to finish.

Pictured below is the replacement circuit board from Atlas after I had installed it into the locomotive.  At bottom left is the original dual-mode decoder and jumper plug, and beside it the 4 function plug-in Digitrax DH166 decoder, with the wiring harness.  Once I had it plugged in to the receptacle and programmed, my leaser engine ran perfectly, so I'll be happy to see it rotate back into service on the JSSX shortly.


Also this week, I began putting together a Walthers Modern Cold Storage building on behalf of Brian.  A pretty nice kit, everything has fit together really well. The worst part of it being trying to understand what the instructions are trying to get me to do.

There are lots of extra parts to this kit, so that's pretty nice too.  I started out by assembling a bunch of the detail parts.  Below are 2 cooling towers and piping, 4 rooftop air conditioning units (3 are extra), 2 transformers(one is extra), front stairs, 4 heat exchangers, 4 roof vents, 2 side stairs, and 4 rail door seals (2 are extra).

The photo of the finished model on the kit box shows only 6 truck bays, but with 2 extras included in the box, plus other extra wall panels, I decided to expand Brians' Cold Storage to be bigger than expected.  The only problem with doing so is that the 2 roof panels provided would not be enough.  I cut a piece of .040 styrene to make up the difference and sprayed all 3 with Rustoleum grey.


This is the building as it it sits at the moment on my workbench.  For the time being, the rooftop assemblies are just set loosely on top.  The rail doors are at the back of the building.  I'll show them next time.

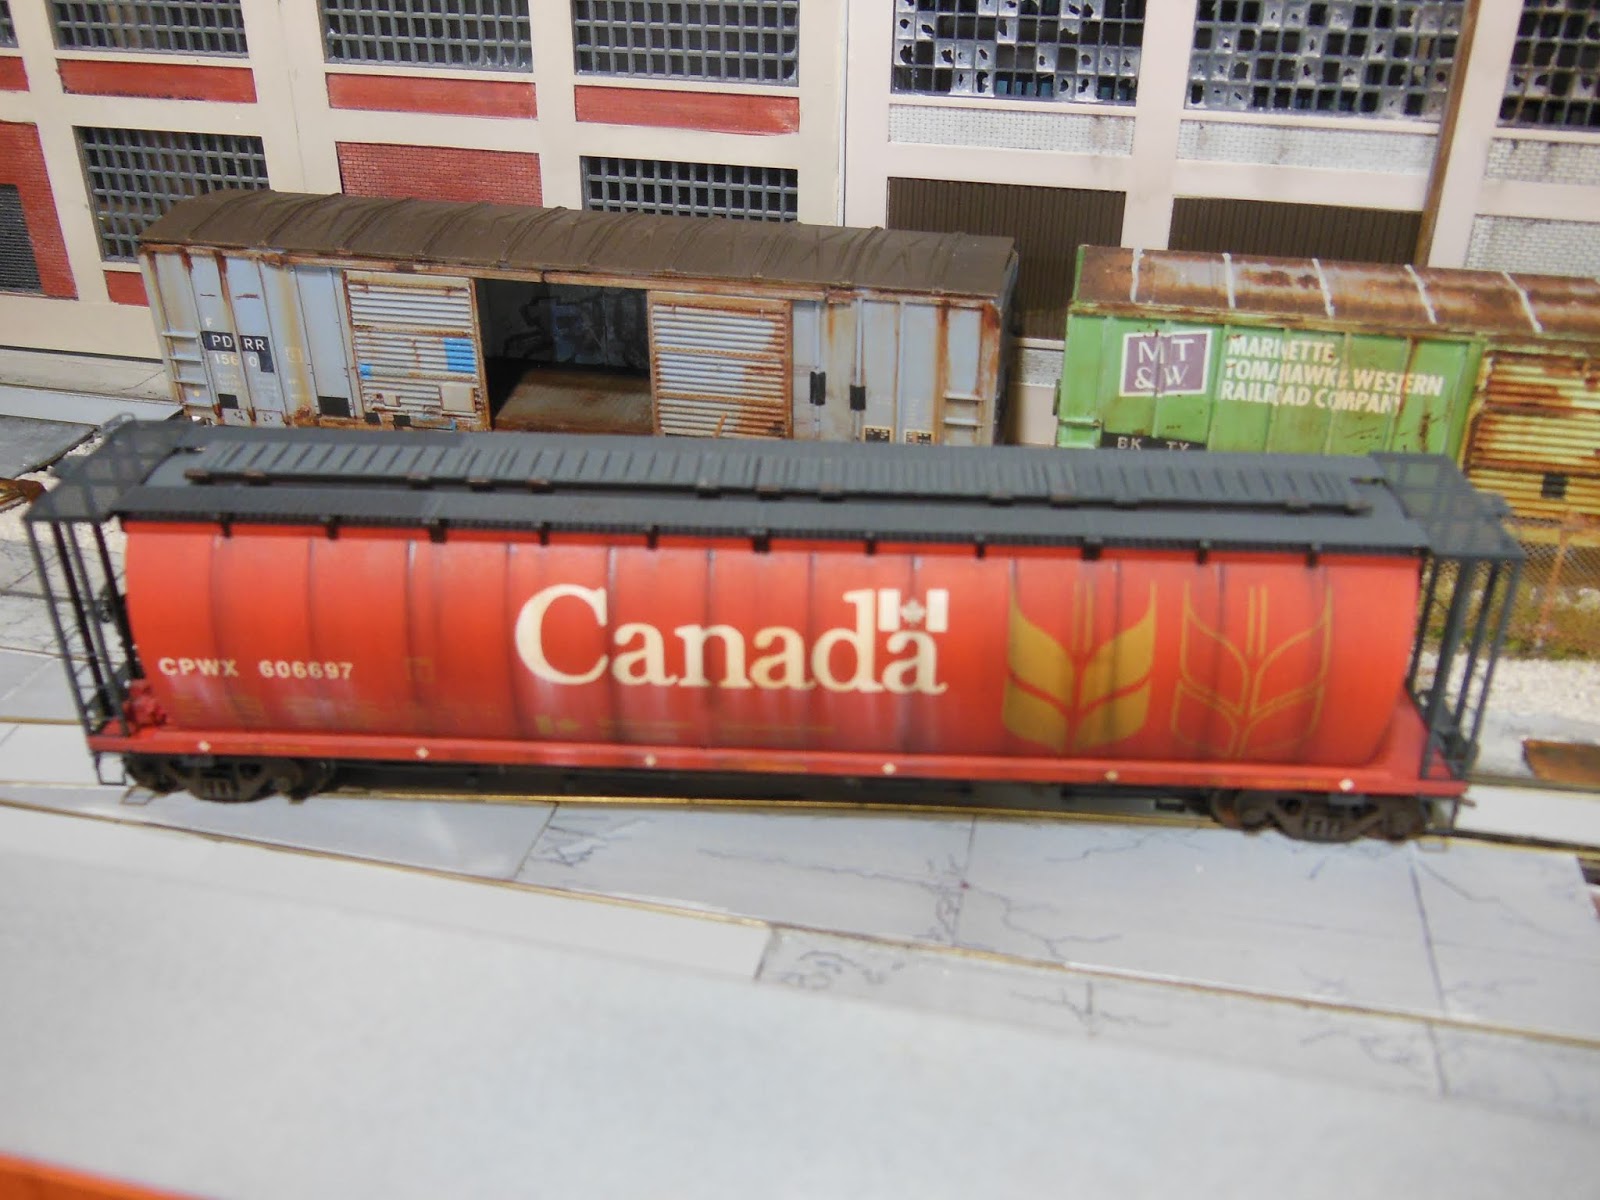
And finally, for this week, I saw this cylindrical covered hopper with an interesting weathering pattern sitting in C-Yard just across from the station platform on Wednesday.  Is that a tack board on the side of the car, between the 2 middle discharge bays?


Saturday 22 September 2018

That REA Building, CitiRail Light Engine, and a CP Cylindrical Hopper too

Continuing on from last week, I've now finished up on the REA transfer building.  The windows have shades in them now (green masking tape). 3 of the windows are boarded up.  For that, I cut little pieces of cardboard from a cereal box, and brushed on a light coat of craft paint "Barn Wood".  There's now half a dozen roof vents attached, and the loading doors and dock are weathered. This location of the building is just a temporary spot as I'm not really planning on keeping it. 

I spent a few minutes down at the Sarnia Via station platform this past Tuesday.  All of the westbound signal lights were red.  There was a yellow light at the east end of C Yard, but I thought it was likely for the switcher that was working at that end.

With the lack of activity I had decided I might as well head back home, but just as I put the car into gear to leave, a headlight appeared on the eastbound track coming out of the St.Clair Tunnel.  I had enough time to get out of the car and get my camera ready for this shot. Here is Citirail (CREX)  ES44AC number 1301 running light past the station platform.


And finally this week, I pulled this Intermountain covered hopper out of the cupboard, and got going on the weathering of it. It's a great looking freight car.

Here's the shiny new just-out-of-the-box photo:


And what the car looks like now...I'm not likely to keep this one for myself as I don't have a grain facility on the JSSX.  The Woodstock Train Show is coming up in October, so if I get myself a table there, I'll take this one along to sell.

And the other side:

Of course the wheels and trucks are done on this cylindrical hopper too, but they don't show well in the pictures, so here's the process in pictures with them still on the workbench. The can of Krylon Camouflage Brown I spray them with after masking is not shown.


I always try to remember to clean the Krylon off of the axle points with a little alcohol on a Q-Tip, as the paint on the points would affect how well  the car rolls.


Saturday 15 September 2018

The JSSX This Week 9/15

Today's post marks the 1 year anniversary (Yay!) of my JSSX Railway blog. (Isn't this when the confetti and balloons are supposed to fall from the ceiling?)  I feel like I should be doing something special, but I haven't been able to think of anything, and I don't have any confetti or balloons, so I guess I'll just press on as usual.

Here is the GT locomotive consist of 6210 and 6212 dropping off four cars to the JSSX after picking up the two high cube boxcars

Kind of a neat shot of 6210 from between the two boxcars we saw GT pick up last week.


And with #813 in for maintenance, and GMTX leaser 2001 down for those electrical problems (still haven't diagnosed that one), that left the JSSX with only #815 actually out on the layout working. To help out, management (me) opted to bring their Dash 8 40B out of storage, and run it for a while.  While it's not entirely unheard of for a GE locomotive to make an appearance on the JSSX, it is quite rare.

Here is JSSX 5068, former guess-who, just about to set out from the shop track to begin it's workday as soon as those GT locos get out of the way after dropping off those four cars seen above.


And in other work this week, I got going on this Walthers Railway Exxpress Agency transfer building that I had picked up at the spring train show in Woodstock.  One of my very favourite things about this hobby is assembling buildings.

This one is mostly finished now, with just the loading dock, steps and likely a few roof-top details to go on it. I'll also make up a dark (probably black) back for it so that you can't see all the way through.  The shiny red-brown brick has been flattened down somewhat with over-sprays of weathered black, and the loading dock doors and awning have been weathered also. I already have one of these buildings on the layout, so my intent is to have this one go up for sale when finished.  I'll have more on this one next week when it's completed.

Meantime, thanks so much for looking in.


Saturday 8 September 2018

The JSSX This Week 9/08

On the JSSX this week, after being brought back to the JSSX yard by 815 (see last week's post), GTW 6212 and 6210 move across the short connecting track between the 2 yards on their way to pick up the two high cube boxcars.

Below, this 40 second video of the GT engines pulling the boxcars out of the JSSX yard seemed to take ages to successfully load onto the blog, hopefully it'll play alright for you.


GP38 #813 was scheduled to go into the shop for routine maintenance this week, so in the short term, management opted to bring in a leaser to fill in during it's absence.  A former Iowa Interstate GP38, that leased engine GMTX 2001 had no sooner arrived onto the shortline rails when it went down with some kind of sudden electrical failure - hopefully to be cured with a simple trip to the programming track, but could it be that the circuit board has failed?

Here is 813 about to back in to the shop:


And here is the GMTX leaser sitting outside the shop, awaiting further diagnostics from shop personnel (me).


And lastly, this is still on the workbench, but here is a "drone view" of the two completed roofs on that building that hit the floor hard a couple of weeks ago.  I've added rolled roofing and tar seam lines to both roof sections, with the rolls being 3 feet wide, and most are 16 feet in length. I used 3 shades of grey powders to colour the lower roof.  As I outlined before, I used a black Sharpie and white glue to make the seams. All of the exhaust fans and stacks have been weathered and re-attached. We'll see if it can make it over to the layout in one piece this time...


Saturday 1 September 2018

On The JSSX This Week 9/01

Activity on the JSSX this week, starts with GP38 #815 seen here heading back to the shortline's yard with a couple of empty high-cube fifty foot boxes that will forwarded on to Grand Trunk.

By way of any actual model railroad progress though, a little bit has been accomplished. I put this short section of roadway guardrail together while waiting for other paint, glue, or decals to dry. Made by Rix Products, I've got it weathered and ready to set into place along my street trackage scene in a couple of days, but at the moment the paint is still wet on it.

As for that building I reported on last week - the one that hit the floor hard - I got the all of the windows and the fire escape replaced/repaired, and also worked on the small roof section. After wiping the dust from the roof, I followed a tip I learned from the instructions sheet in a Downtown Deco kit. Using a black Sharpie pen, I marked out black lines to represent rolled roofing and tar lines.  Then I went over those lines with a bead of white glue, as seen below.

The white glue dries clear, but raised just up a tiny bit, giving some relief to the flat roof.  I then brushed on some grey and brown powders for colour variation, as well as rust powders where some of the roof vents would go. Finished roof section is below.


I also spent time working over this covered hopper, which I had picked up at the Woodstock Train Show back in the spring.  Hoping for weathering ideas, I looked around on the interwebs for pictures of any UP cars that look similar to this, but was unable to find any.

Apparently, the weathering was going to have to come from my imagination.

I figured I'd patch out the reporting marks and the large "UNION PACIFIC" lettering on the sides, and then add some light rust weathering. For the patches, I applied flat black decal trim film from Microscale over the letters, but the next morning most of the decal film had curled up and lifted off. I've never had that happen before. I tried flattening the decal patches down with more Solvaset, but they just curled and lifted again shortly afterward.

I then thought I'd take the trim film off completely, and paint the patches over top of the letters. I was quite surprised when the masking tape I used to remove the remaining bits of the trim film also lifted that original black lettering completely off. Weakened by the Solvaset, maybe?

I moved on to Plan C, which was to then just mask off a few panels and paint some flat black patches on with the airbrush.  I painted out the reporting marks with grey trim film (which stayed in place) and changed them to AEX, but kept the same number.


Also this week, in 1:1 railfanning, I happened to notice this run-of-the-mill Nova Chemicals pellet hopper was sitting in C-Yard here at Sarnia. Typical of the Nova cars we see around here, NCIX 1248 is about as clean as could be, no graffiti and no rust.  But, it caught my eye just because the number 1248 matches the street address of my boyhood home.