Friday 28 July 2023

A Couple of Gondolas

I ran across this photo by Robin Thomas of a loaded gondola on www.railcarphotos.com this week, and I immediately noticed how much the load in this gondola looks like the loads I have for many of my gondolas.This gondola photo was taken in Little Rock, Arkansas

And a loaded gondola on the layout with a load that looks quite close to the prototype load above.  Brian Smith gave me the "busheling" chips to use as scrap metal on the layout.
Here's a look at my ZVBX (Ferrous Processing & Trading) gondola loaded with busheling that I think looks quite a lot like the material in the prototype photo.

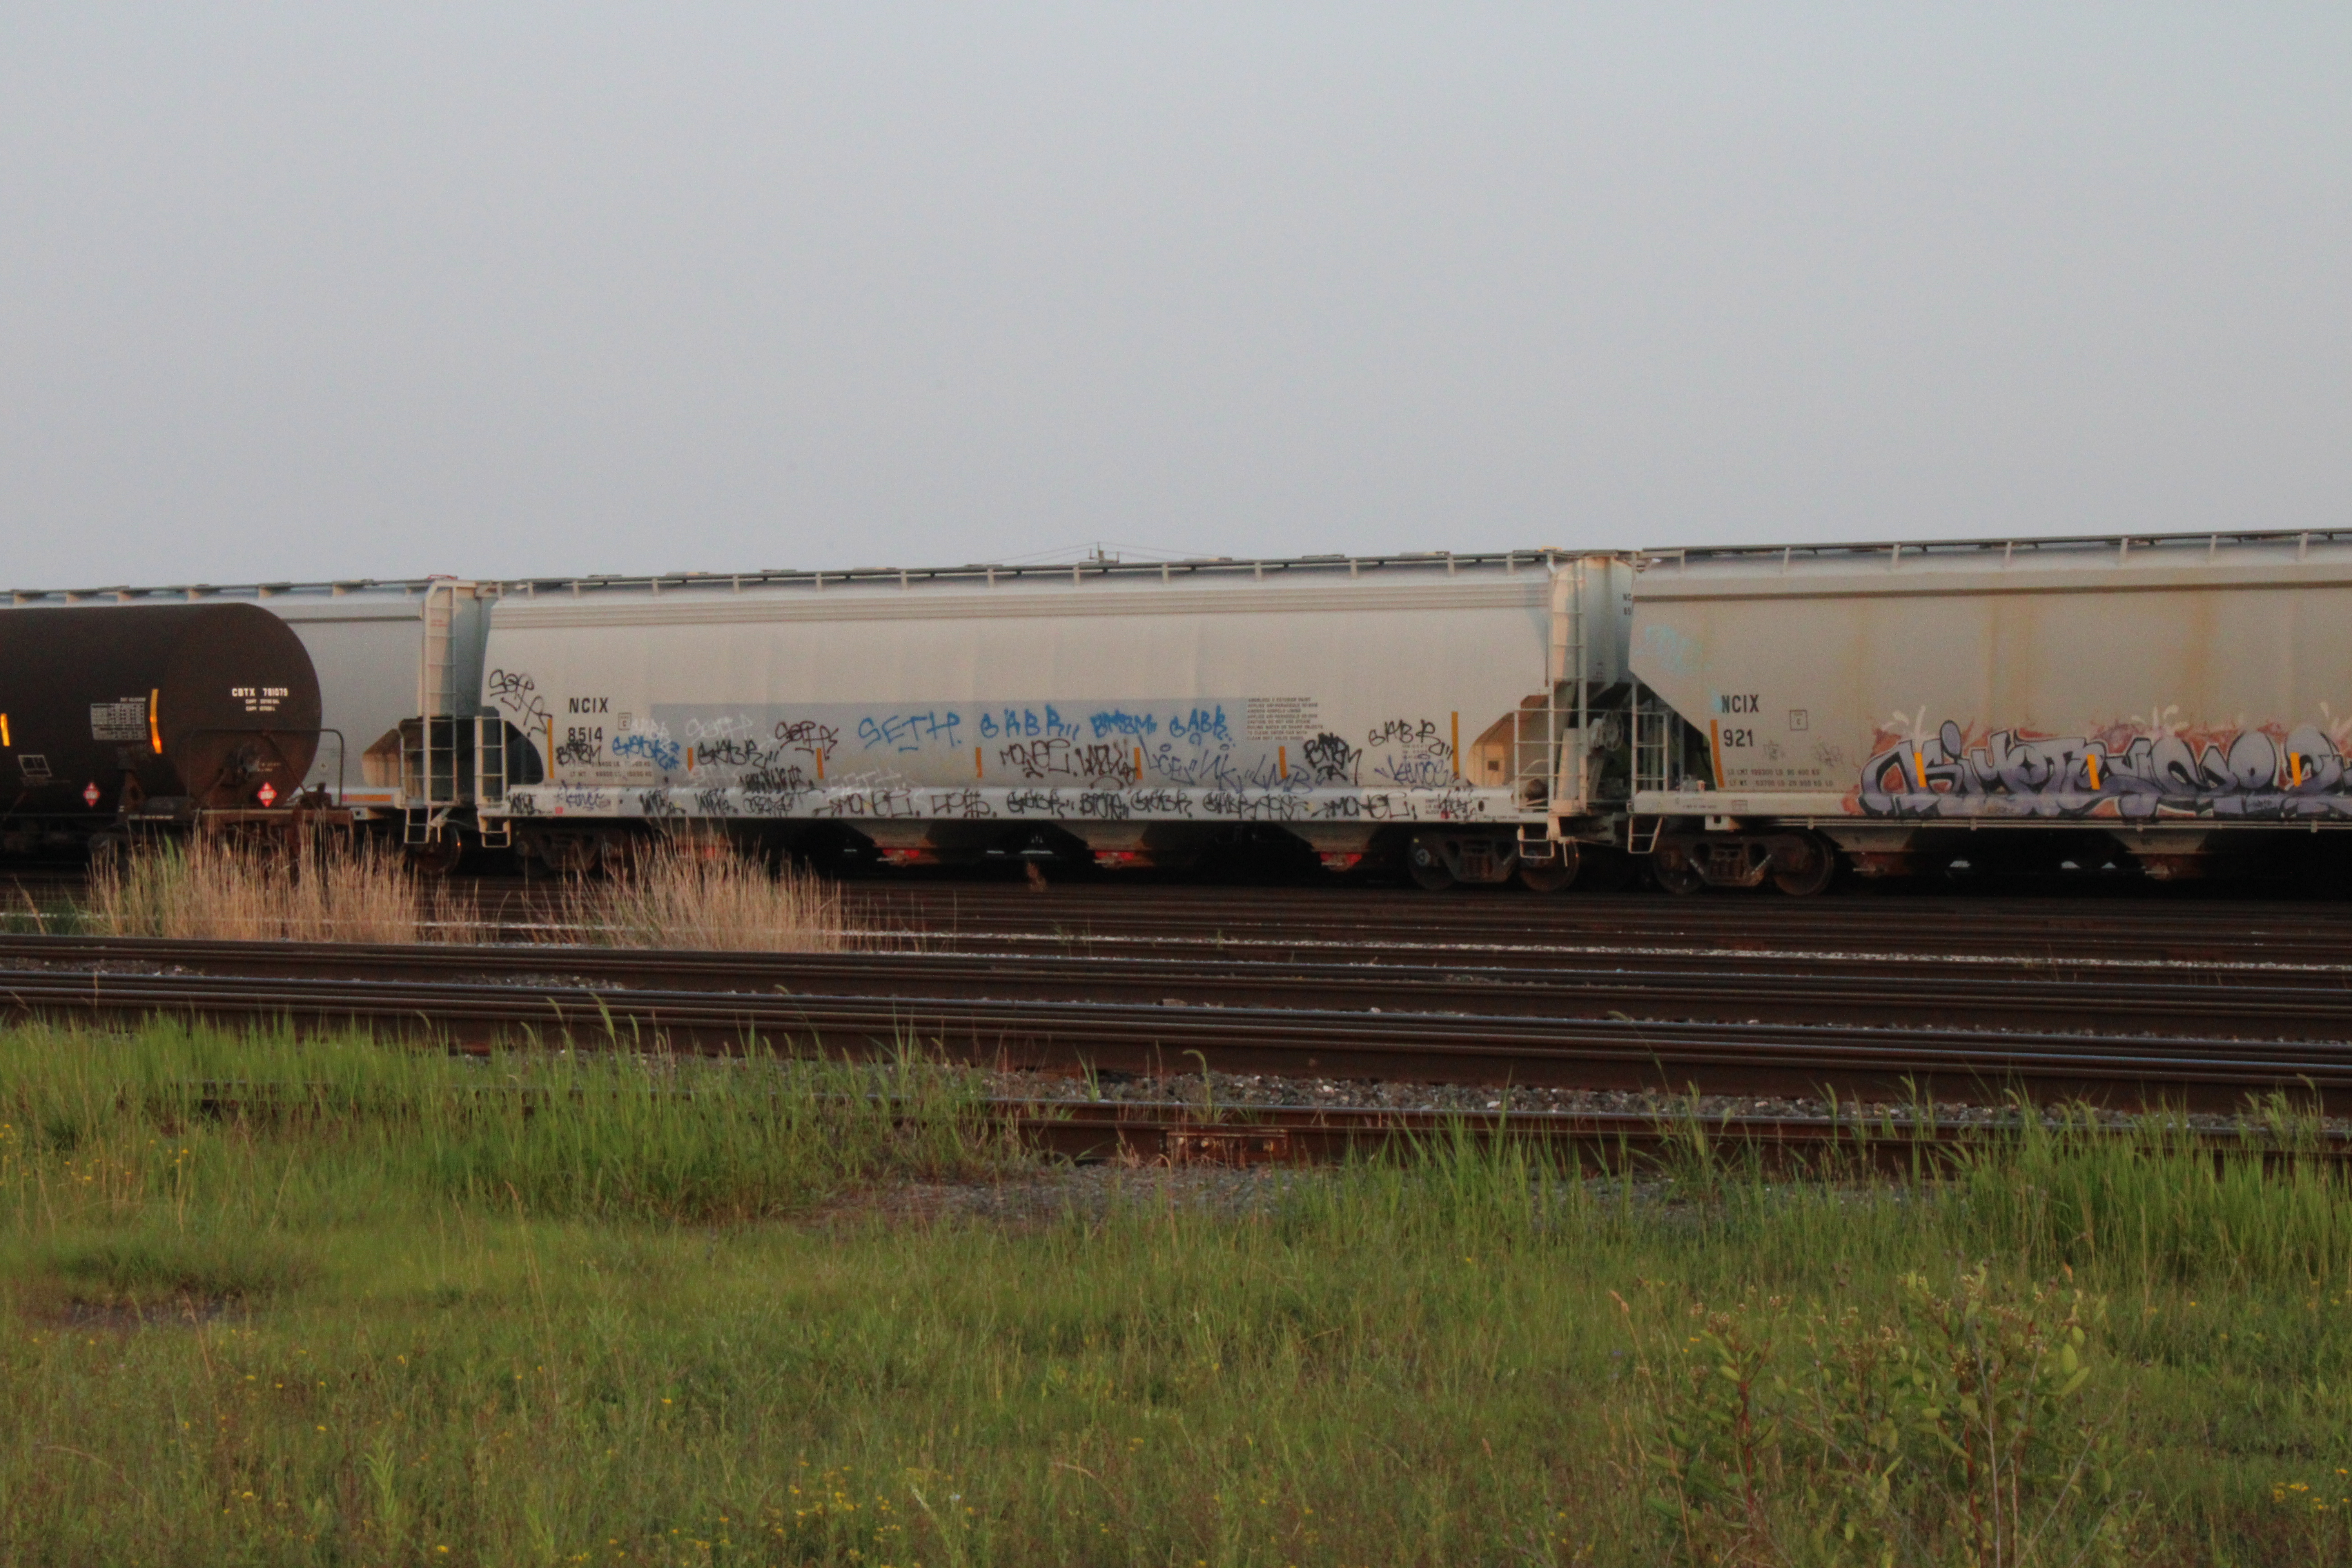
And speaking of gondolas, I brought this underused one out of the storage cupboard to use it out on the layout for a while.
Something about it just didn't quite seem to fit, so I brought it over to the workbench

And here it is back in just about the same spot again later the next day
Mostly the changes are decals from Microscale, but I've also done a bit with paint pens and fine tip artist pens as well

I also changed the weathering inside the gondola, using AK Interactive products and some chalks

The graffiti decals are a bit too bright looking, so I lightly sprayed over them with Roof Brown as well.  Not too dirty, but better.

I bought myself this Otter VaIley gondola lettered for American Iron & Metal, but haven't done any weathering  to it.  At least not yet.
The size of the model surprised me.  I didn't really realize that the cars are that tall.

Another view.  A really nice looking freight car, but weathered would be better

Have a great week, and do some model railroading.

Friday 21 July 2023

A Few Things

Here's a look at JSSX 5068 coming at us down South Industrial Blvd.

One of my favourite engines in the fleet at a favourite location.

Here are a couple more of the freight cars that Don trusted me with a few weeks ago

Vertical streaking down the rivet lines with a mix of Burnt Umber and Ivory Black. I sprayed Roof Brown over both of these freight cars to mute their original yellow.

The streaks down the rivet lines on this one is done with more of the Burnt Umber, leading to a more rusty colour on the lines.  Also, just a touch of rust below the ice hatches.  I bet you didn't really even notice that.

And here's how the two cars look when they're together

This past Sunday afternoon, Brian Smith sent along this photo that he took of his in-progress display shelf, and I think it's looking real nice.

I don't know who did the work on the boxcar, but I remember that SOO Line caboose spending some  time here on my workbench for a while

Down at C-Yard in Sarnia, where there is usually a LOT of plastic pellet covered hoppers
That's a lot of scribbles on that NOVA Chemicals pellet hopper.  And it looks like some other graffiti had already been painted over.


I saw this Collin Reinhart photo of an older (and patched) 3-bay covered hopper on railcarphotos.com this week, and I was struck by the weathering.  Might be a good one to try to model some time.

Have a good week

Friday 14 July 2023

A Bit of Scenery on the Layout

I've had this idea of building industries or structures as "modules" that can be moved in or out or replaced on the layout for a long time now.  Actually, the idea is borrowed/taken from George Dutka, who I believe changes out his structures fairly often.  I'm working - albeit slowly - toward having many of my industry modules having same size footprints as each other, and so far I've got 3 of them that can be switched in or out with each other.

However, I've found that doing this can leave a sort of seam between the edge of the module and more permanent layout scenery. Kind of like can be seen in this photo below:

The edge of the module is quite obvious, as  in this photo, so I've got to set about hiding it

I picked up a package of Woodland Scenics "Edging Strips" static grass product, in the light green colour to try to use here.
I thought maybe I could put it along the visible front edge of the MDF. Then when I put a single piece down, I thought that the colour difference between it and the dark ground foam that's already in the area was far too contrasting. Probably should have gotten a darker colour of the Edging Strips.

Kind of looks like a big long furry green caterpillar

So, I cut the strip into a few shorter pieces and spread them randomly apart. Then I filled in between them with dark green ground foam
I also found an old "Super Tree" that had seen better days, which I placed on it's side.  It's in the foreground in this view.

Another look at the same area.

And down at the opposite end of the recycle plant. This is surely not the greatest ever scenery on a model railroad, but at least the edge of the building's base isn't noticeable now.

And an overall view of the rail side of Tri-State Paper.  I'm now thinking of this bit of scenery as being a win for the layout

And changing to a new topic, Scale Trains says they are going to be offering models of the 86 foot 4-door Thrall cars in half a dozen paint/colour schemes.  "Pre-ordering " runs until the end of July, with the models to be available January 31st 2024. Pretty nice looking models.

Here's a link to their announcement:

https://www.scaletrains.com/ho-scale/ho-scale-freight-cars/rivet-counter-ho-scale-thrall-86-high-cube-double-plug-door-boxcar.html?utm_source=Klaviyo&utm_medium=campaign&_kx=yCCH6L-pM9k965fMpU7dQH6ev5ANvg28-2laJFjMotU%3D.hnq4B2


Friday 7 July 2023

American Crane

 About a year ago I picked up a motorized version of Walthers' American Crane model, similar to this one shown here.

Similar, although my model has the Union Pacific logo and reporting marks

I had a non-motorized version earlier, but I've since sold it off via a Facebook group.  This motorized version is DC only, but I had seen YouTube videos of the cranes converted to DCC.

With the DCC conversion in mind, I contacted the good folks at TCS, and they recommended which decoder, with a keep-alive capacitor built in, would fit and work with this model. I figured that given the short wheelbase of the crane, the keep-alive would be really helpful whenever the it would run through track switches on the layout.

Since I have absolutley no idea how to do such electrical work, I prevailed upon Don Janes to do the work for me. I also asked Don to add LED lights to the model.  I asked for two forward facing lights, one rear facing light, and if possible could a light also be added to the end of the crane jib.

A view of the inside of the crane.  Not much room in there as you can see, but there's the TCS decoder and the wiring that Don installed for me.

And here's the crane after Don did all of the work on it. Please disregard the block holding the jib up.  I haven't yet run the cables on the model, so the block is just a temporary measure.

The American Crane sitting outside of the JSSX maintenance building

Two forward facing headlights

Showing the single rear facing light

This model is really not a great runner, but I think it can be improved.  The motor is rather noisy but I can live with that. As Don pointed out to me, much of the problem likely stems from the brass wheels.  They do get dirty pretty fast, and then of course conduct power to the motor quite poorly.
I've sent a note off to NorthWest Shortline asking if they have a wheelset that would be a good replacement for the original brass wheels seen in this photo.

In this view, we can see the two headlights, and the light at the end of the jib as well.

So, I still have to remove the Union Pacific shield, run the cabling for the jib, patch the JSSX reporting marks onto the crane, and of course do some weathering.  I believe that running that cabling is bound to be a frustrating experience, as it sure was on my previous model.

We'll revisit progress on this crane as I get more of that work done.

Thanks Don for all your efforts on my model.  Seriously.