Had a failure of the laptop computer the last week of November and so wasn't able to get on the interwebs, email, or access any files. Actually, the computer itself was fine, but the ribbon wire that connects the computer to the screen broke/failed.
So I bought a brand new laptop, and after a few days was able to do most internet type things, but couldn't load any photos to the blog or create a new post. I'm not much of a computer problem solver, but I do have a tech guy that I can usually get come to help me out. In this instance though, he happened to be unavailable for some time, but he's been here twice now, and we think we've got everything under control.
I know that some of you readers had expressed concern for my well being, and I thank you for that. I honestly assure you that I've been just fine. And thanks for continuing to check in here at the JSSX Railway.
And with that, on to the model railroad business. I'll try to pick up more or less where I left off.
I had mentioned here last time (yes, back in November) that I'd been invited to attend a weathering clinic presented by George Dutka. I brought two freight cars along with me, this Intermountain cylindrical hopper and Rapido boxcar. The clinic was fun, it was great to see George, and he even referenced my weathering a couple of times, plus I met a few people that I had never met before.
New and clean Intermountain CN cylindrical hopper
Rapido 50 foot combination door boxcar. Also new and fresh out of the box.
George had me hold up my boxcar while I was working on it so he could take my picture.
This is me (hoping to not crack the camera lens), trying out some Pan Pastels to lighten down the shine on the brown boxcar. And there's my cylindrical hopper on the table too.
Back at home, I painted the wheels and trucks on both freight cars using Rust Texture, which was something that George told us about at the weathering clinic. I'd never actually used Rust Texture for that before, so that was something new I learned. George, if you're reading this, Thanks for the suggestion!
Here's that boxcar after I had finished it up at home:
Truth be told, I used a boxcar weathered by the great Rob Arsenault as inspiration for my weathering effort on this boxcar
Light rusting to the roof with Pan Pastels
And as for the CN cylindrical hopper, here it is after it was finished as well
I think it was Pan Pastels Paynes Gray and Burnt Sienna that I brushed on to this car
A view to show the walkways and hatches
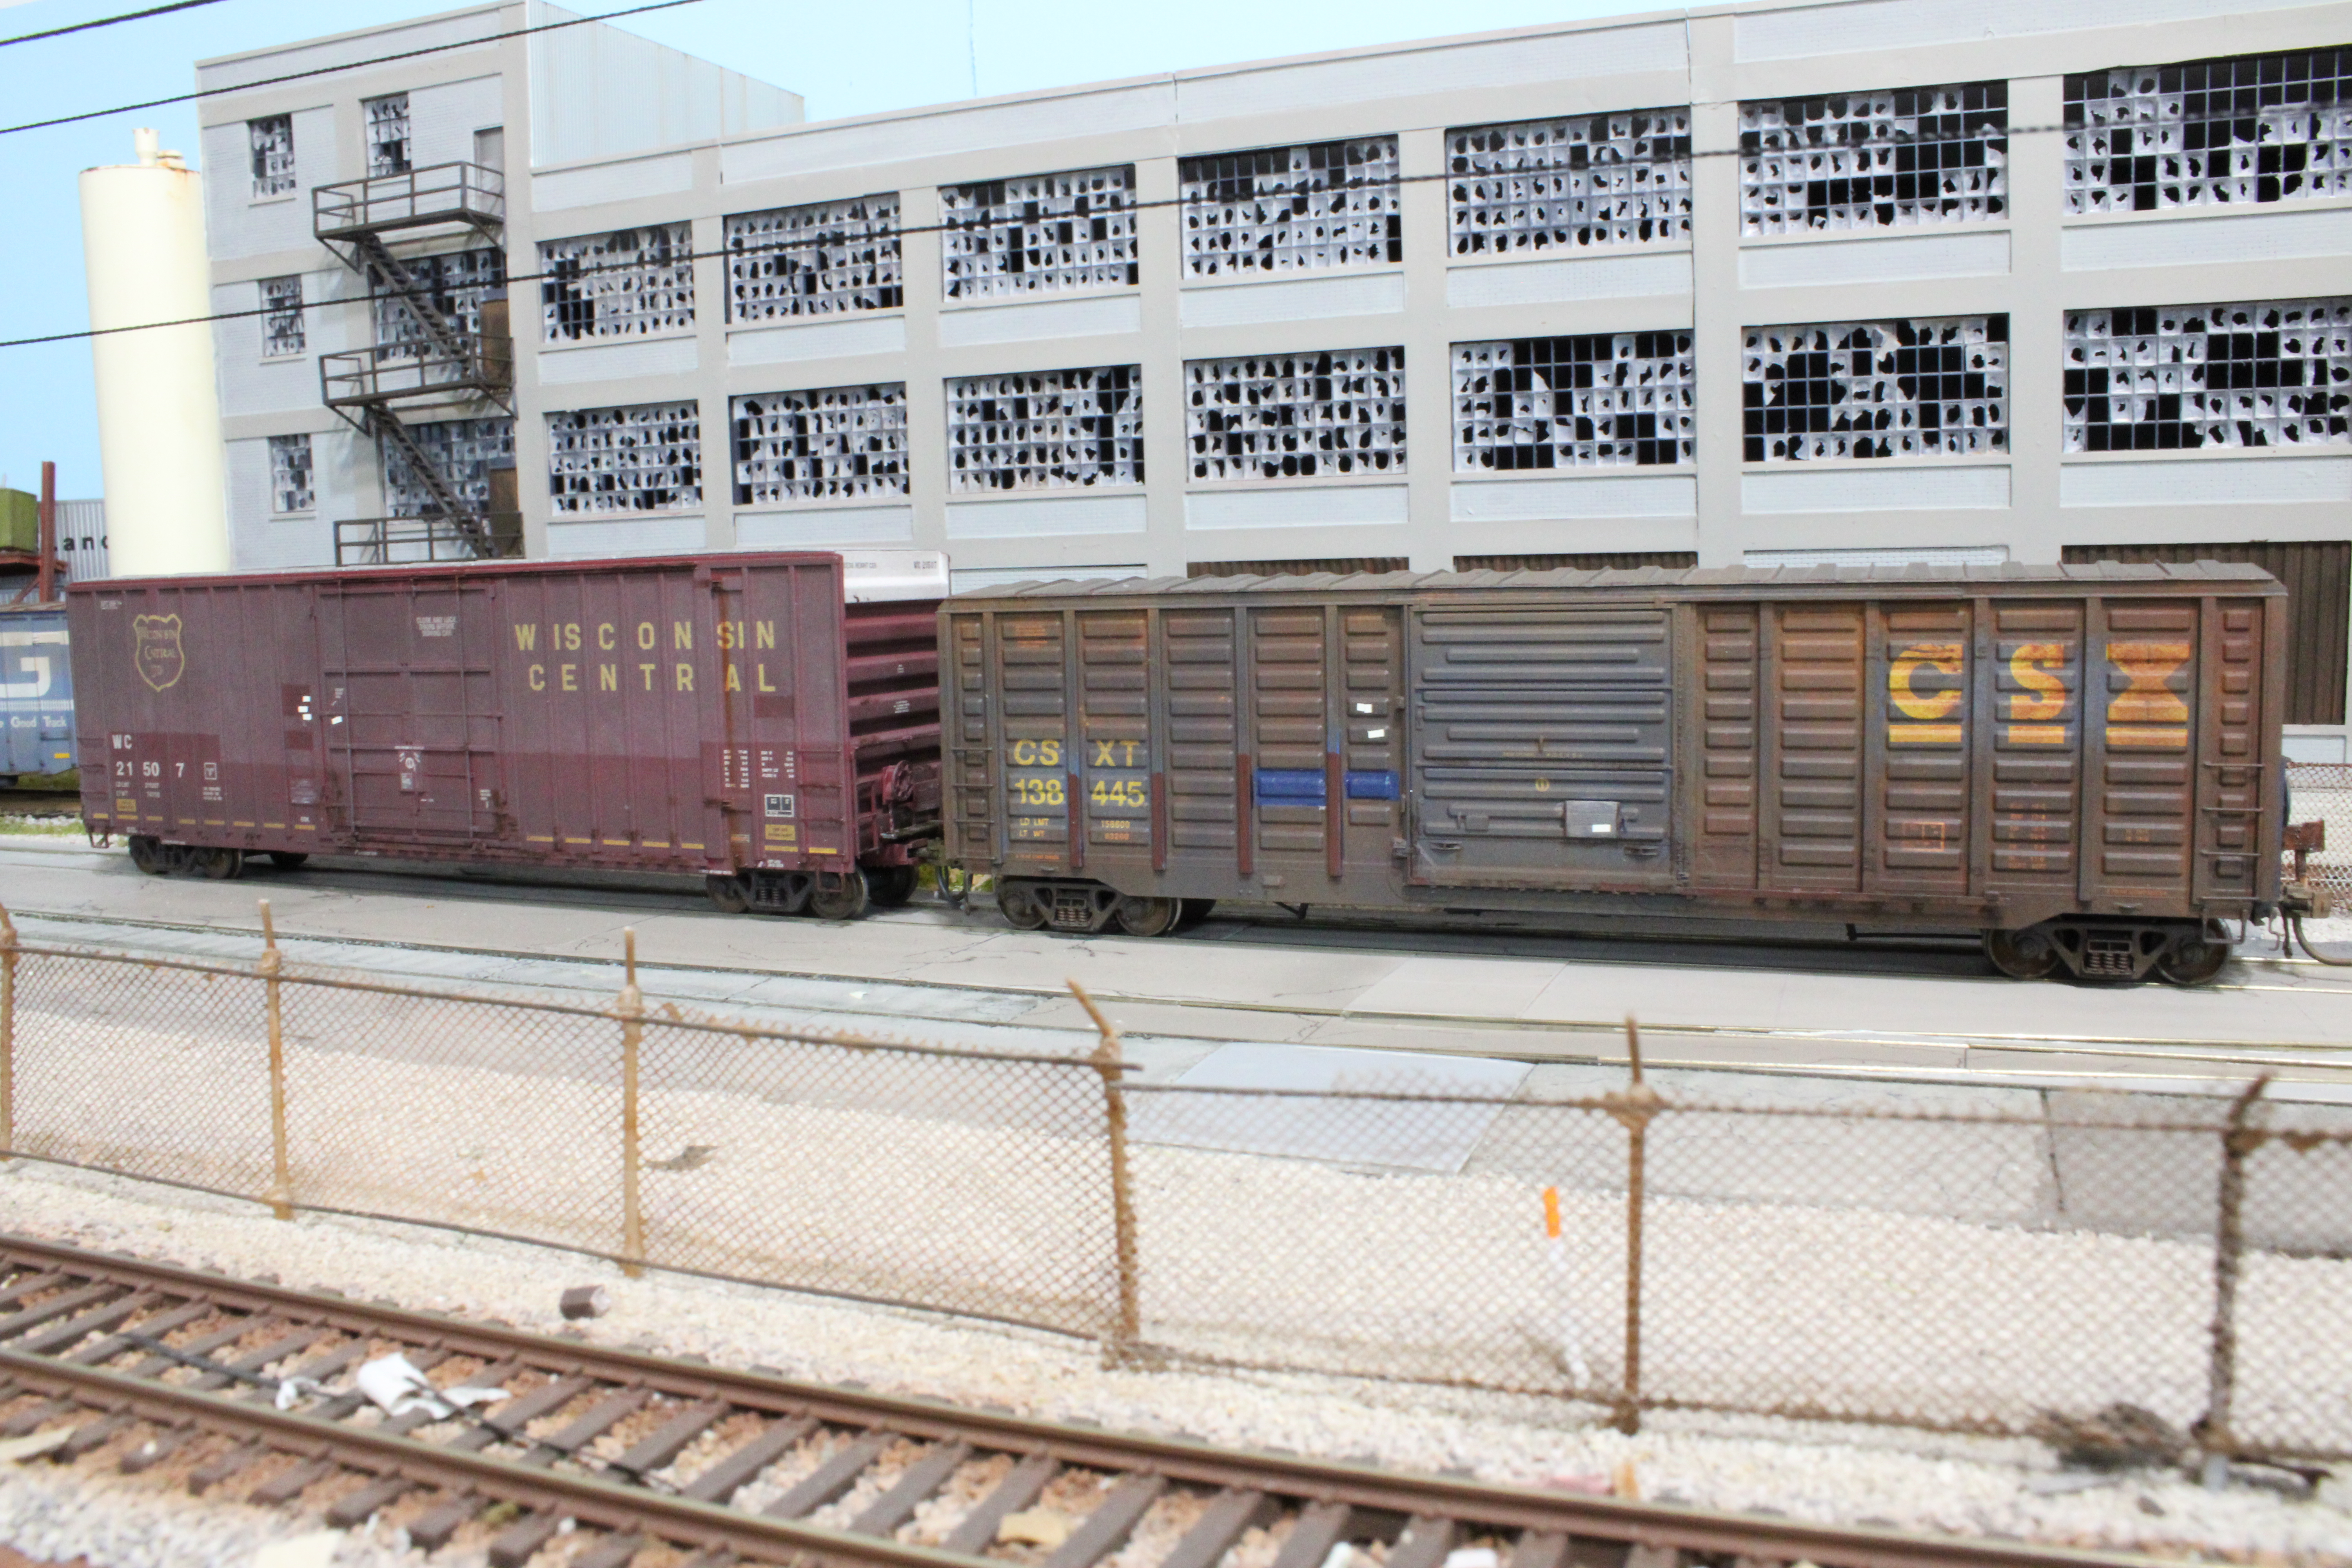
Also, I spent a week or so painting and weathering and putting these silos and accompanying building together. They came as one part of the Walthers bakery kit. I had used the brick walls from that kit to create the Tri-State Paper recycler on the layout.
I don't actually have a use for these silos, so I'm not sure what I'll end up doing with them.
That's it for now. Thanks for hanging in there with me. I hope you all have a very Merry Christmas.