Saturday 30 April 2022

"City Classics" Gas Station Kit

 I received through the mail this week a City Classics model kit of a gas station.  I had ordered the kit quite early in the year, but the shipping had been delayed as the owner of City Classics was ill, as reported on the City Classics web site.  Sadly, the website now reports that gentleman, Mr. James Sacco, has passed away a few weeks ago.

I have two other City Classics buildings already on the layout, so we'll have a brief look at them here first as well...

I don't remember the name of this building's kit.  I've had it for years, and frankly, I've never really finished up painting the details as well as I should have.


I believe City Classics called this their Ironfront Building.  I bought two of them and kitbashed them together over 20 years ago, cutting off the bottom portion of one to allow tracks to run underneath.  Kind of an urban tunnel I guess.  The bulldog art on the wall is a photo I took and printed. The actual artwork is on the back of a local tavern in Point Edward, Ontario.

And so now here's my new Gas Station kit as received.  I'll get to actually assembling the kit in the coming week or two.  I've got some ideas for it, so it's probably not going to really look like it does in the photo on the package. I've got some ideas for it 

Below is a look at the site where the gas station is intended to go. The space is about 10" x 10", and is located in between one end of the scrap metal recycler and the highway overpass.


The kit as packaged.  You can make the argument that this gas station might not really be correct for the 2000 era that I like to try to depict here.  But I think it should work out alright in this run-down urban industrial area.
You can see the full list of parts right on the package. 

The kit parts.  There's also a plain white styrene piece for the roof that I didn't bother to include in the photo.

And also included is this very nice sheet of signs to choose from.
The "trim" colours for the building are listed in the lower right hand corner of the sheet.


Saturday 23 April 2022

A GTW Gondola for the Layout

I've had a Walthers gondola for many years that I very rarely had out on the layout here. In my recent gondola craze, I had an idea for this one and brought it out of the cupboard and over to the workbench.  The gondola was green and lettered for MKT in yellow.  You'll have to just take my word for that, because I didn't take pictures of it.

I laid a piece of .005 styrene sheet down on the road in front of our house  as I've described before and ran an old wallpaper seam roller overtop of it, sort of embossing the little bumps from the asphalt into the styrene.  That styrene was then cut into pieces to fit over the side panels of the gondola.

I had noticed that on-line photos of many GTW gondolas showed that the blue appeared to be quite faded.  To get the faded the blue colour, I pre-mixed C&O Blue with Concrete Gray and sprayed the car with my airbrush, then added a GT logo and reporting marks decals.

The wheels on my model are metal replacements, and the couplers are Kadee.

I can't honestly say one way or the other if GTW actually has or had any Greenville gondolas, but the GTW here in the basement has one now and I think that this gondola will look right at home.  I did however use a prototype reporting mark number, GTW 148099.

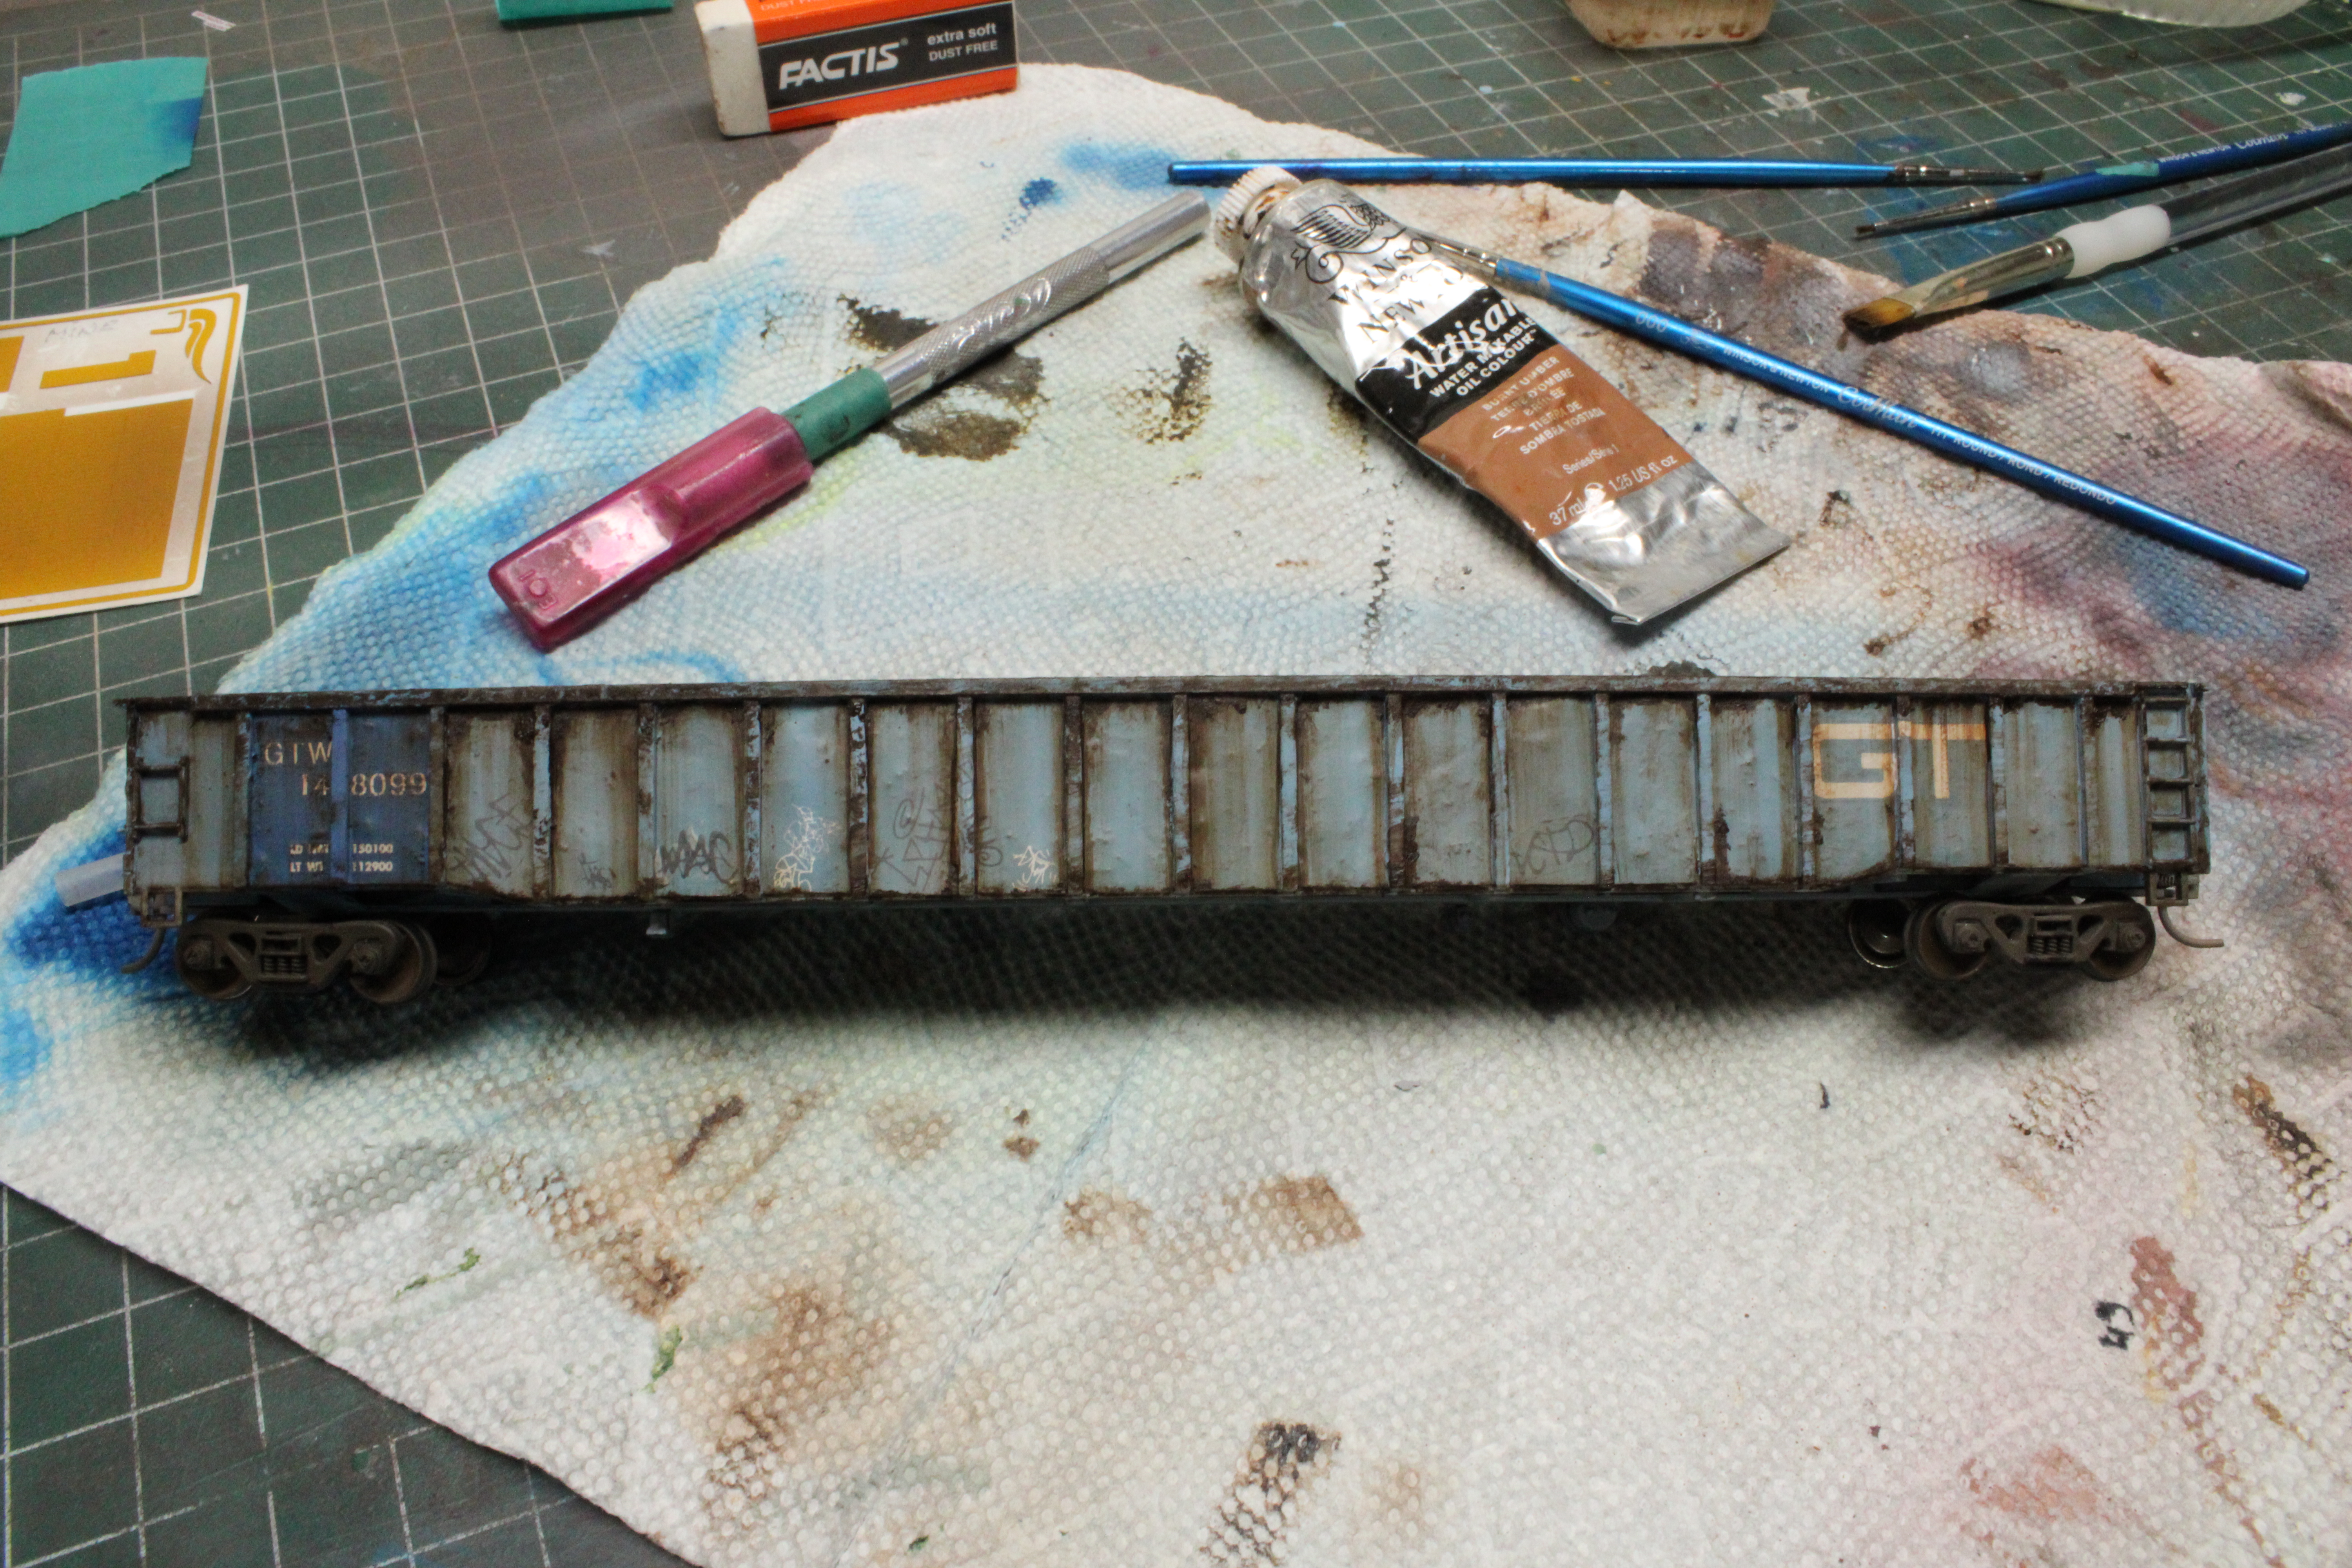
Not the greatest photo, as you can only slightly make out just a few of the bulges on the side panels, but here it is repainted and re-lettered.

And below is how things stand a couple days later after some graffiti, plus the grime and rust has been added. Some of the graffiti is decals and some is hand scribbled by me.
Burnt umber artist paint, a few old brushes, etc.  I know the weathering on the car might look a little overdone to some, but when on the layout, I'm sure this gondola will blend right in and look like it belongs.

The interior of the gondola became quite rusty with the use of a nifty craft store product called Metal Effects - Rust. Perfect for this particular application.
At the bottom of the photo is the removable load that I've made for the gondola.  A piece of .040 styrene that I cut to size is painted brown and then metal chips from a milling machine are glued on top of it.  The load can be dropped right in or popped right out to become an empty gondola again. 

The loaded gondola and a small pile of spare metal chips that I'll save for use another time.

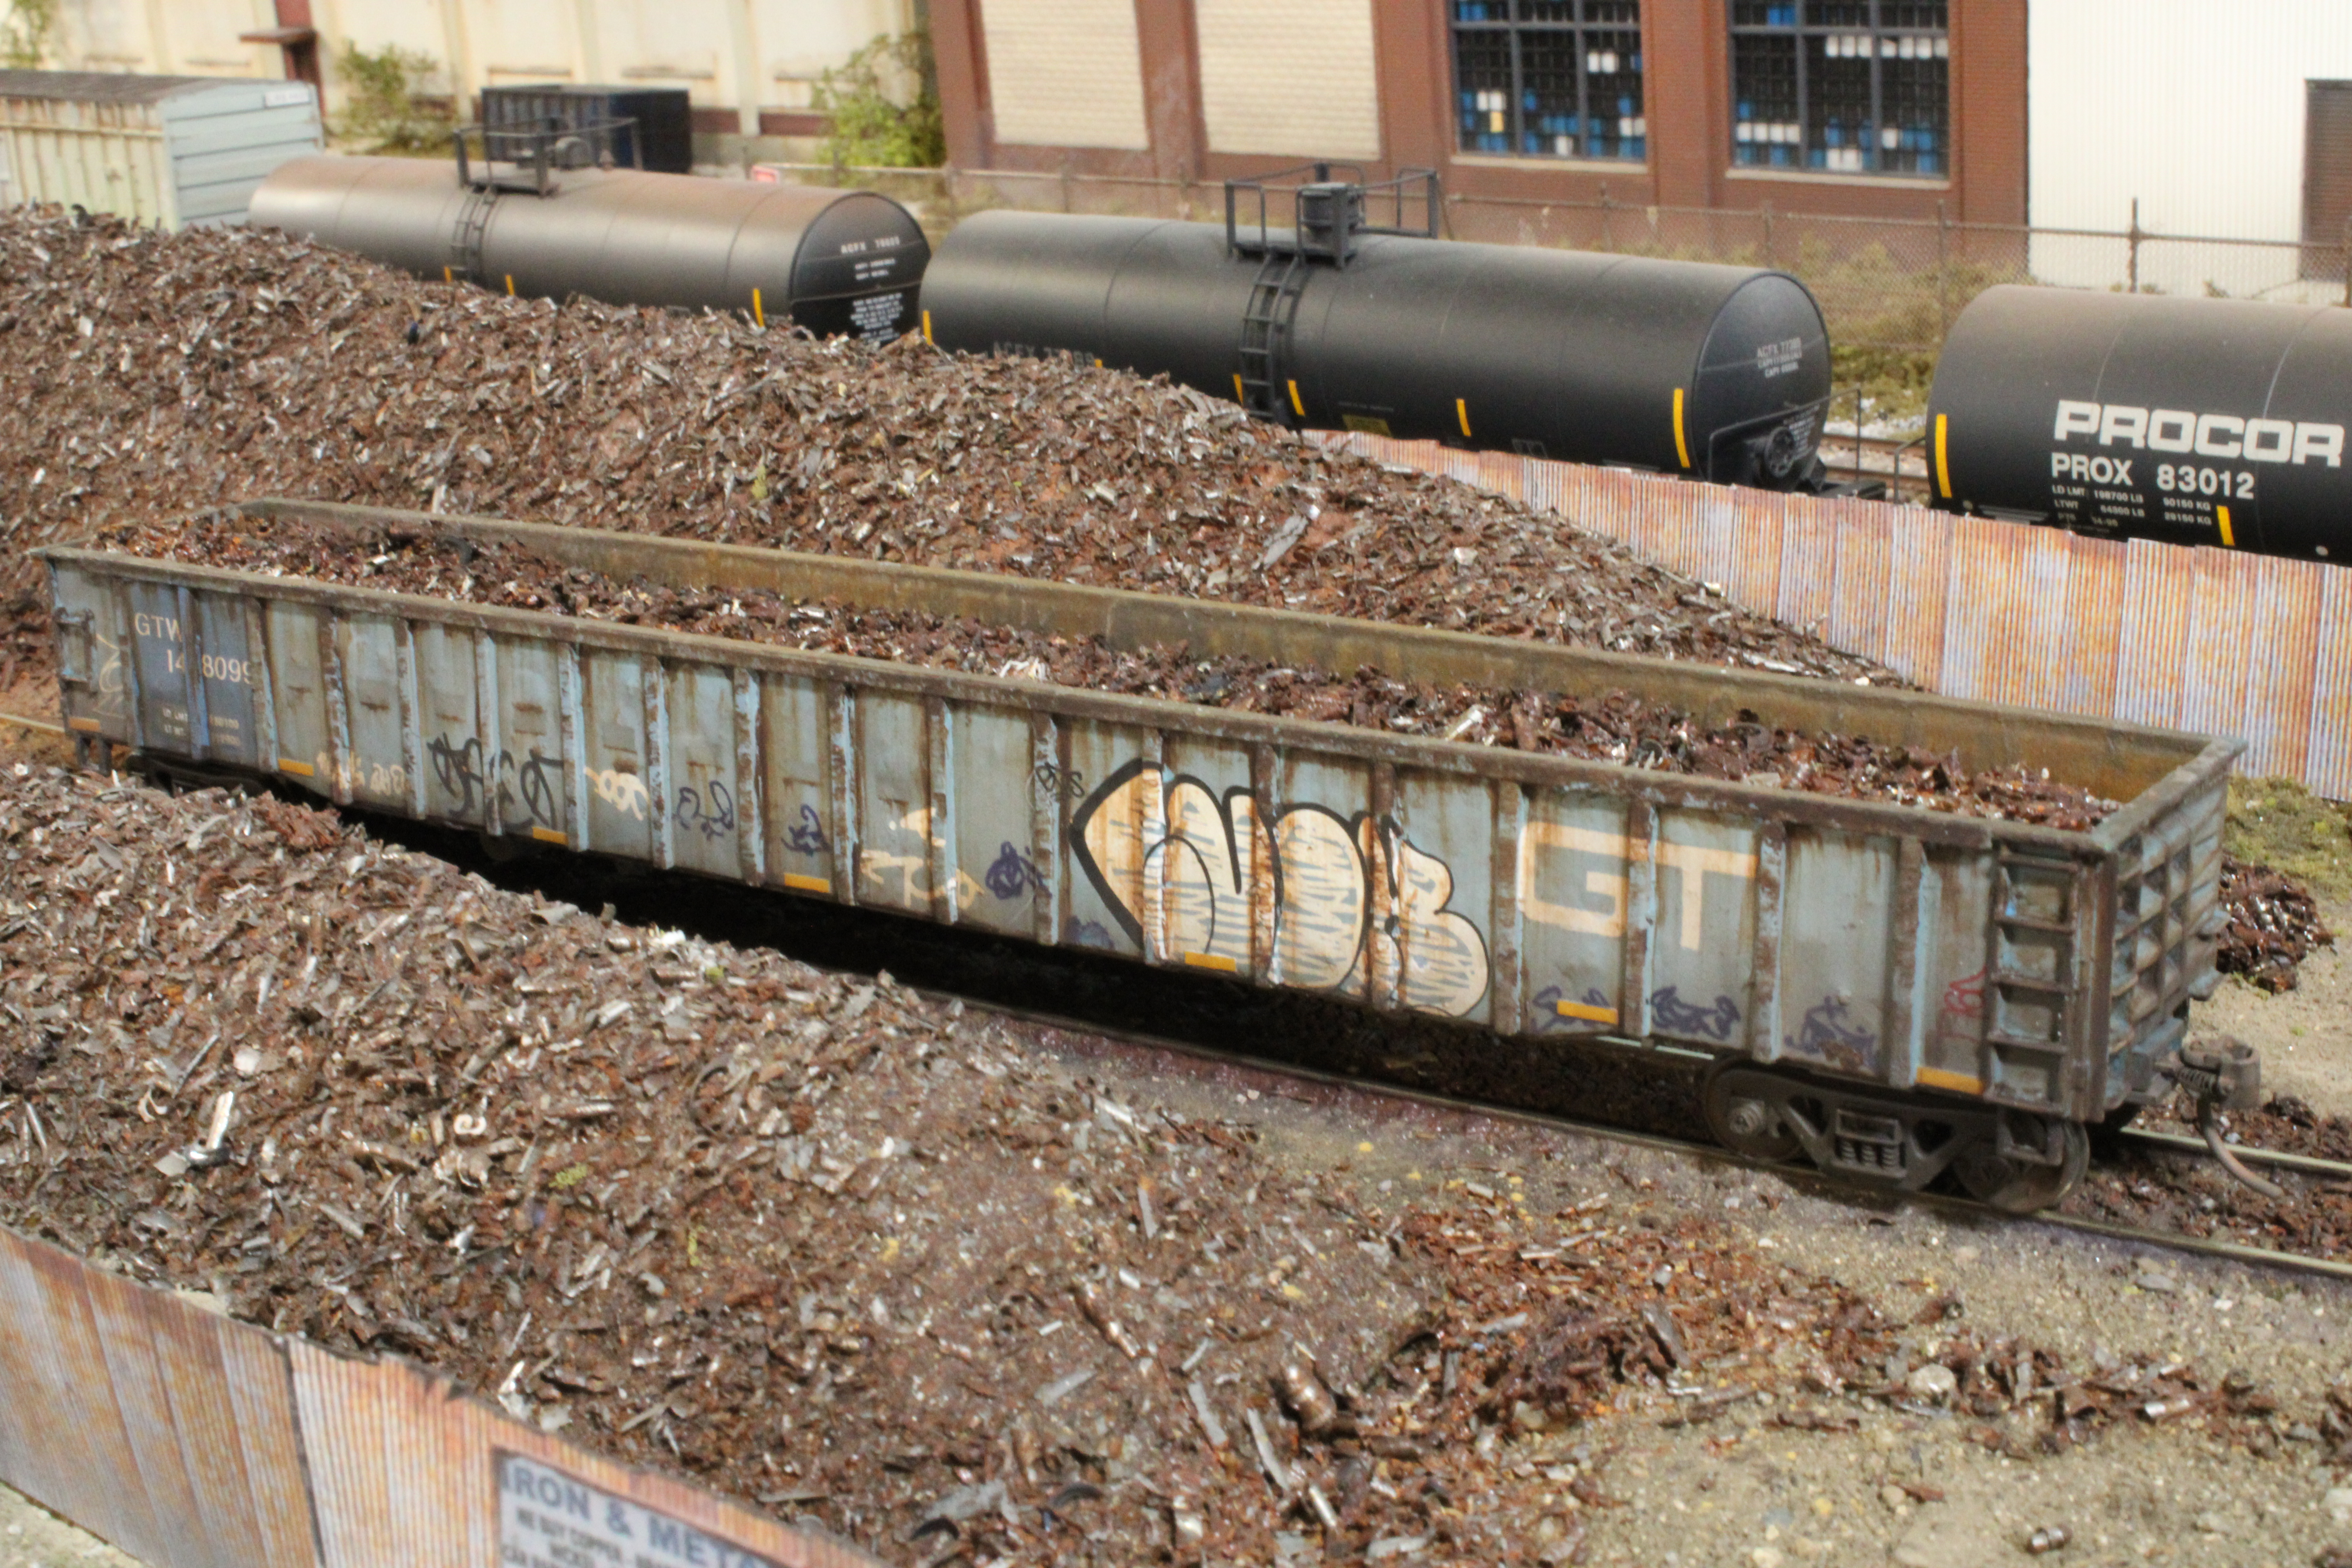
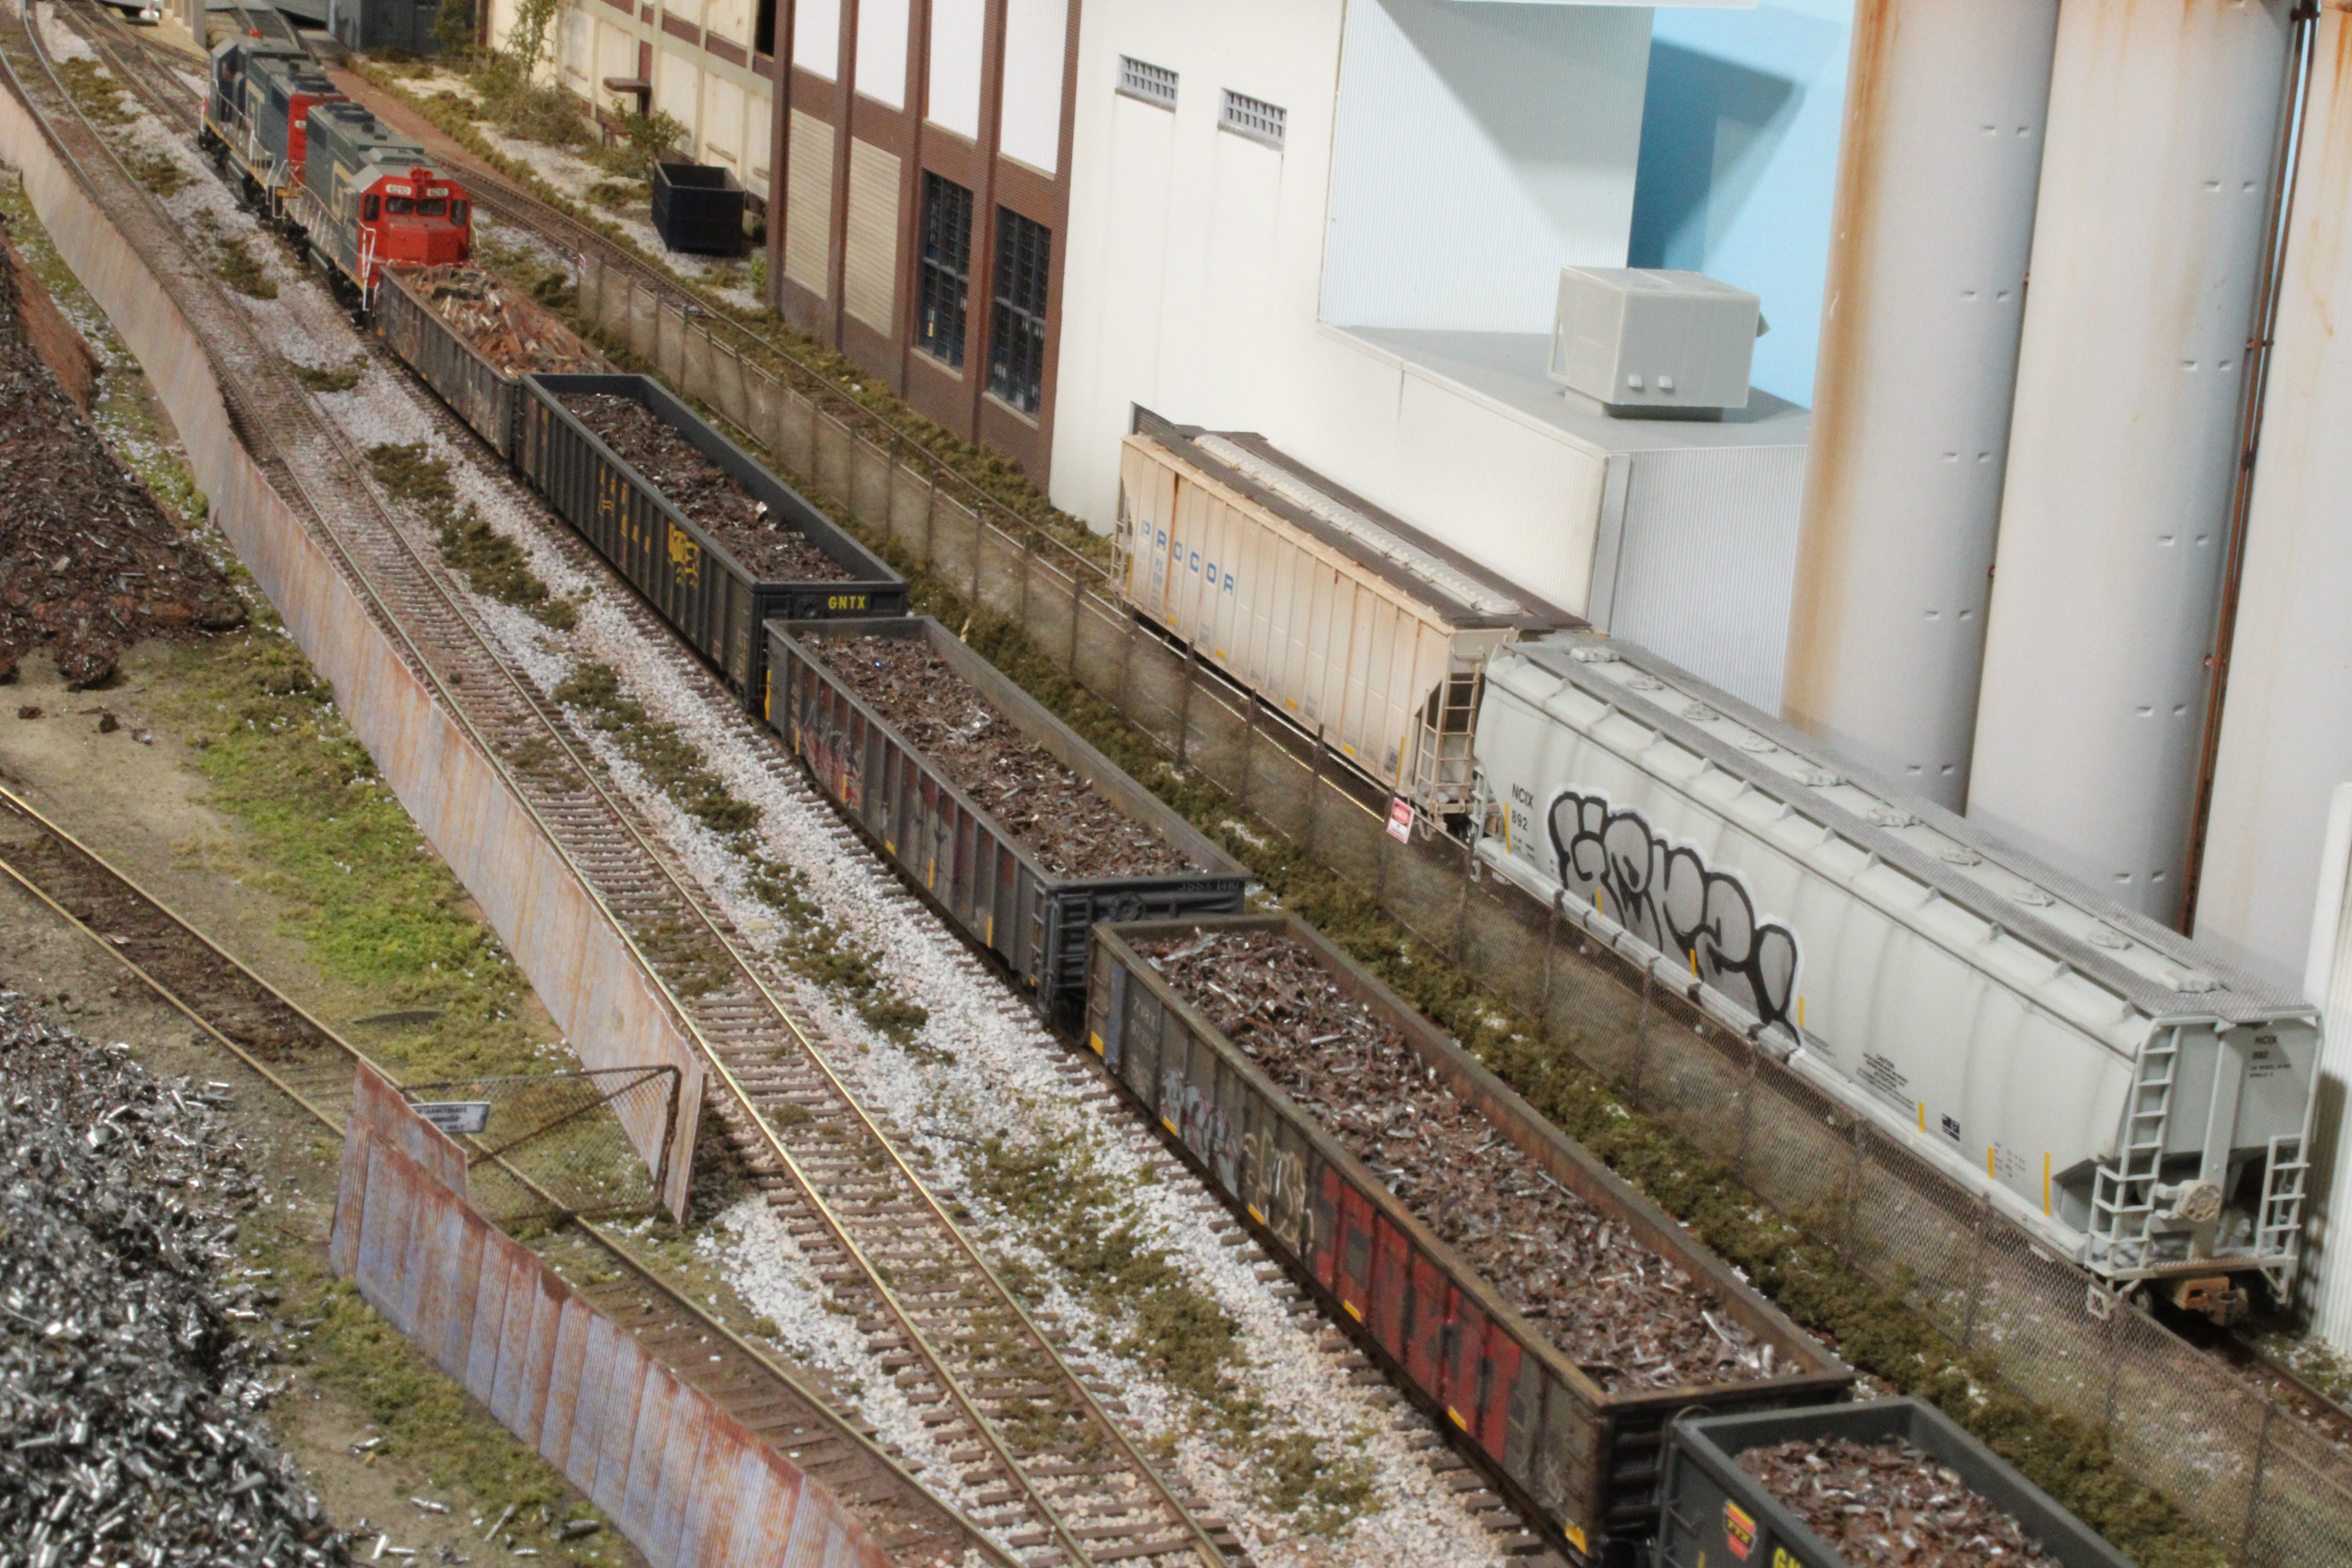
Below is a view of my gondola, spotted now at the metals recycler...


And loaded...
The faded blue gondola covered in grime and graffiti and the gondola fits right in with the surroundings.

Looks like it's suffered long years of use and abuse.  I'm just missing uncoupler bars, and perhaps air hoses, but this makes a real nice addition to my fleet of gondolas.

Saturday 16 April 2022

CN/GTW 5931

Finally was able to place a photo in the blog's header again.  I had been putting a new picture there each month, and I don't know what happened but I was unable to do so for quite a long while.  That's JSSX 813 returning from working at South Industrial Blvd.  813 was previously numbered 815 until I changed it just recently.

Four axle power is the far and away the more common choice for use on the shortline here, with an occasional 6 axle locomotive thrown in just for variety.  But on my GTW here, there's pretty well always an SD40 or SD38 in use.

On a facebook group, I recently ran across an SD40 in CN colours and sub-lettered for GTW that was offered up for sale.  I made an offer for it, which was accepted, (boy, that etransfer sure does simplify things doesn't it) and the engine was delivered to my door a week or so later.  

Here's a couple of looks at CN/GTW 5231, fresh out of the box and on the bench awaiting some mild weathering and then application of the detail parts before it gets sent out onto the rails.

I always liked CN's North America "map" scheme, and this engine should make a real nice addition for me here.

Looks like the cab isn't quite sitting properly on the frame.  Probably something just not right after I installed the DCC decoder. Guess I'll have to open it back up and try again.

Here's a link to one of Lance's YouTube videos. The link should open the video in a new window for you...https://www.youtube.com/watch?v=qgKcazGcNRo and is only 2:35 in length.  I've always found Lance's modeling to be quite inspiring to what I try to do here at the JSSX.

Have a Happy Easter everybody.

Saturday 9 April 2022

Gondola Re-Paints

 As I wrote last time, I've been spending quite a bit of time weathering gondola cars recently, so here's a look at a few of those:

ZVBX is one that I wrote about 3 weeks ago when I got the idea from a gondola that Lance Mindheim had featured on his blog.  I re-painted in grey an old gondola I had, re-lettered it, and then weathered it. This scrap load was made by Chooch Industries (I think).

EDIT: Friend Chuck has advised me via email Saturday afternoon that the gondola load above, is now a Walthers Scene Master piece, part number 910-6051.


ZVBX 97324 is freelanced as a sister to 97337.  I broke 3 drill bits on this one as I was drilling the holes to add the metal grab irons, so that was "challenging".  The graffiti on the side is Microscale decals.  They've been weathered to flatten down the colours with oversprays of Roof Brown from the airbrush.

JSSX 1410 is an old Roundhouse gondola that I've had forever. I thought that my shortline should also have a gondola that could make an appearance on the layout. I did much the same things to it that I had done to the other two above.

And I thought I'd also show this work-in-process as well, an older Walthers gondola. It was originally green, and lettered for the MKT. I was going to patch-letter it to UP, but then had a better idea, realizing that my GTW line should probably have a GTW gondola available to run into the scrap metals recycler site.

Hard to see in the photo, but I've bulged out the side panels with overlays of .005 styrene that has been cut to fit between the cars' ribs. I pre-mixed some C&O blue I had on hand with concrete gray and sprayed the car with that.  Even so, it seemed to be darker than I wanted, so I lightened it up more by spraying over that with just the concrete gray. I was trying to match the blue colour up to some on-line photos that I'd seen.

And finally, with much of the weathering done, you can also see some graffiti scribbles in a few of the panels. I haven't yet done any weathering to the other side, so this one still has a little ways to go before it makes it out onto the railroad.

Saturday 2 April 2022

Matching Power to Train Size

 Let's start off this time with a view from one of my favourite railfanning spots, as GP38's 6212 and 6210 round the curve toward the "east side" line.


The layout is not all that big really, at about 6 x 17', plus there's a 7 foot industrial switching extension. I like the way the view under the overpass here "frames" the trains as they come around the curve.

I think I've mentioned before that some years ago I read about limiting the number of cars that a locomotive could handle in a train.  I thought it was a pretty good idea at the time, because the size of the layout really doesn't allow for very long trains anyway. I made it a permanent rule for myself and it really does work out well for me.

How it works is simple: A limit of 2 cars per powered axle. That's it. Just that easy.

So a single 4-axle engine can only move a maximum of 8 cars at a time, one 6 axle engine can take up to 12 cars.  So in the photo you'll see below of this 9-car train, two four axle locomotives are necessary.

The only exception I use for this rule is that empty flat cars count as zero.  But I don't have or use many of those anyway.  Things can get a bit tricky occasionally.  Like if the job involves switching or shunting a number of cars. Picking up 3 cars for example with a 6 car train means that 2 four-axle engines would be necessary. Or, just one six-axle.

Another look at that GTW train rumbling along the "east side" line with 9 cars, including gondolas loaded with metal for recycling.

I like the way the two matching GP38's look together anyway, so they are just about always coupled with each other and typically lead trains that are about 8 to10 cars long. Of course lifting and switching freight cars out of customer's spurs can temporarily add to that length. So going by my 2 cars per powered axle rule, having two engines on the train becomes necessary.

A going away shot from the overpass of the GTW with gondolas loaded with scrap.  I've been on a gondola weathering kick lately, so I'll have more on those another day soon.