Just before we get to the boxcar re-paint, I want to say that I was finally (somehow) able to get logged in correctly to Google, so now I can reply to any comments left in the comment section at the end of the blog posts.
Regarding this boxcar, Luc had asked if I could paint, patch, and weather a model to look like this prototype boxcar for his friend Radisson. They were wanting the car to be lettered for Radisson's railroad, the ACRR. So that's what I've spent much of my modeling time doing recently.

Luc and Radisson provided me with this Exactrail model as the victim... A nice looking Exactrail model of a PS 5344 boxcar

I removed the original logo, etc., using Solvaset, cotton swabs, and round wooden toothpicks. The toothpicks were dampened with water to soften them a bit so as to not scratch the model.
Next step was to primer the boxcar to cover the bits of Exactrails's original pad printing that wouldn't come off.
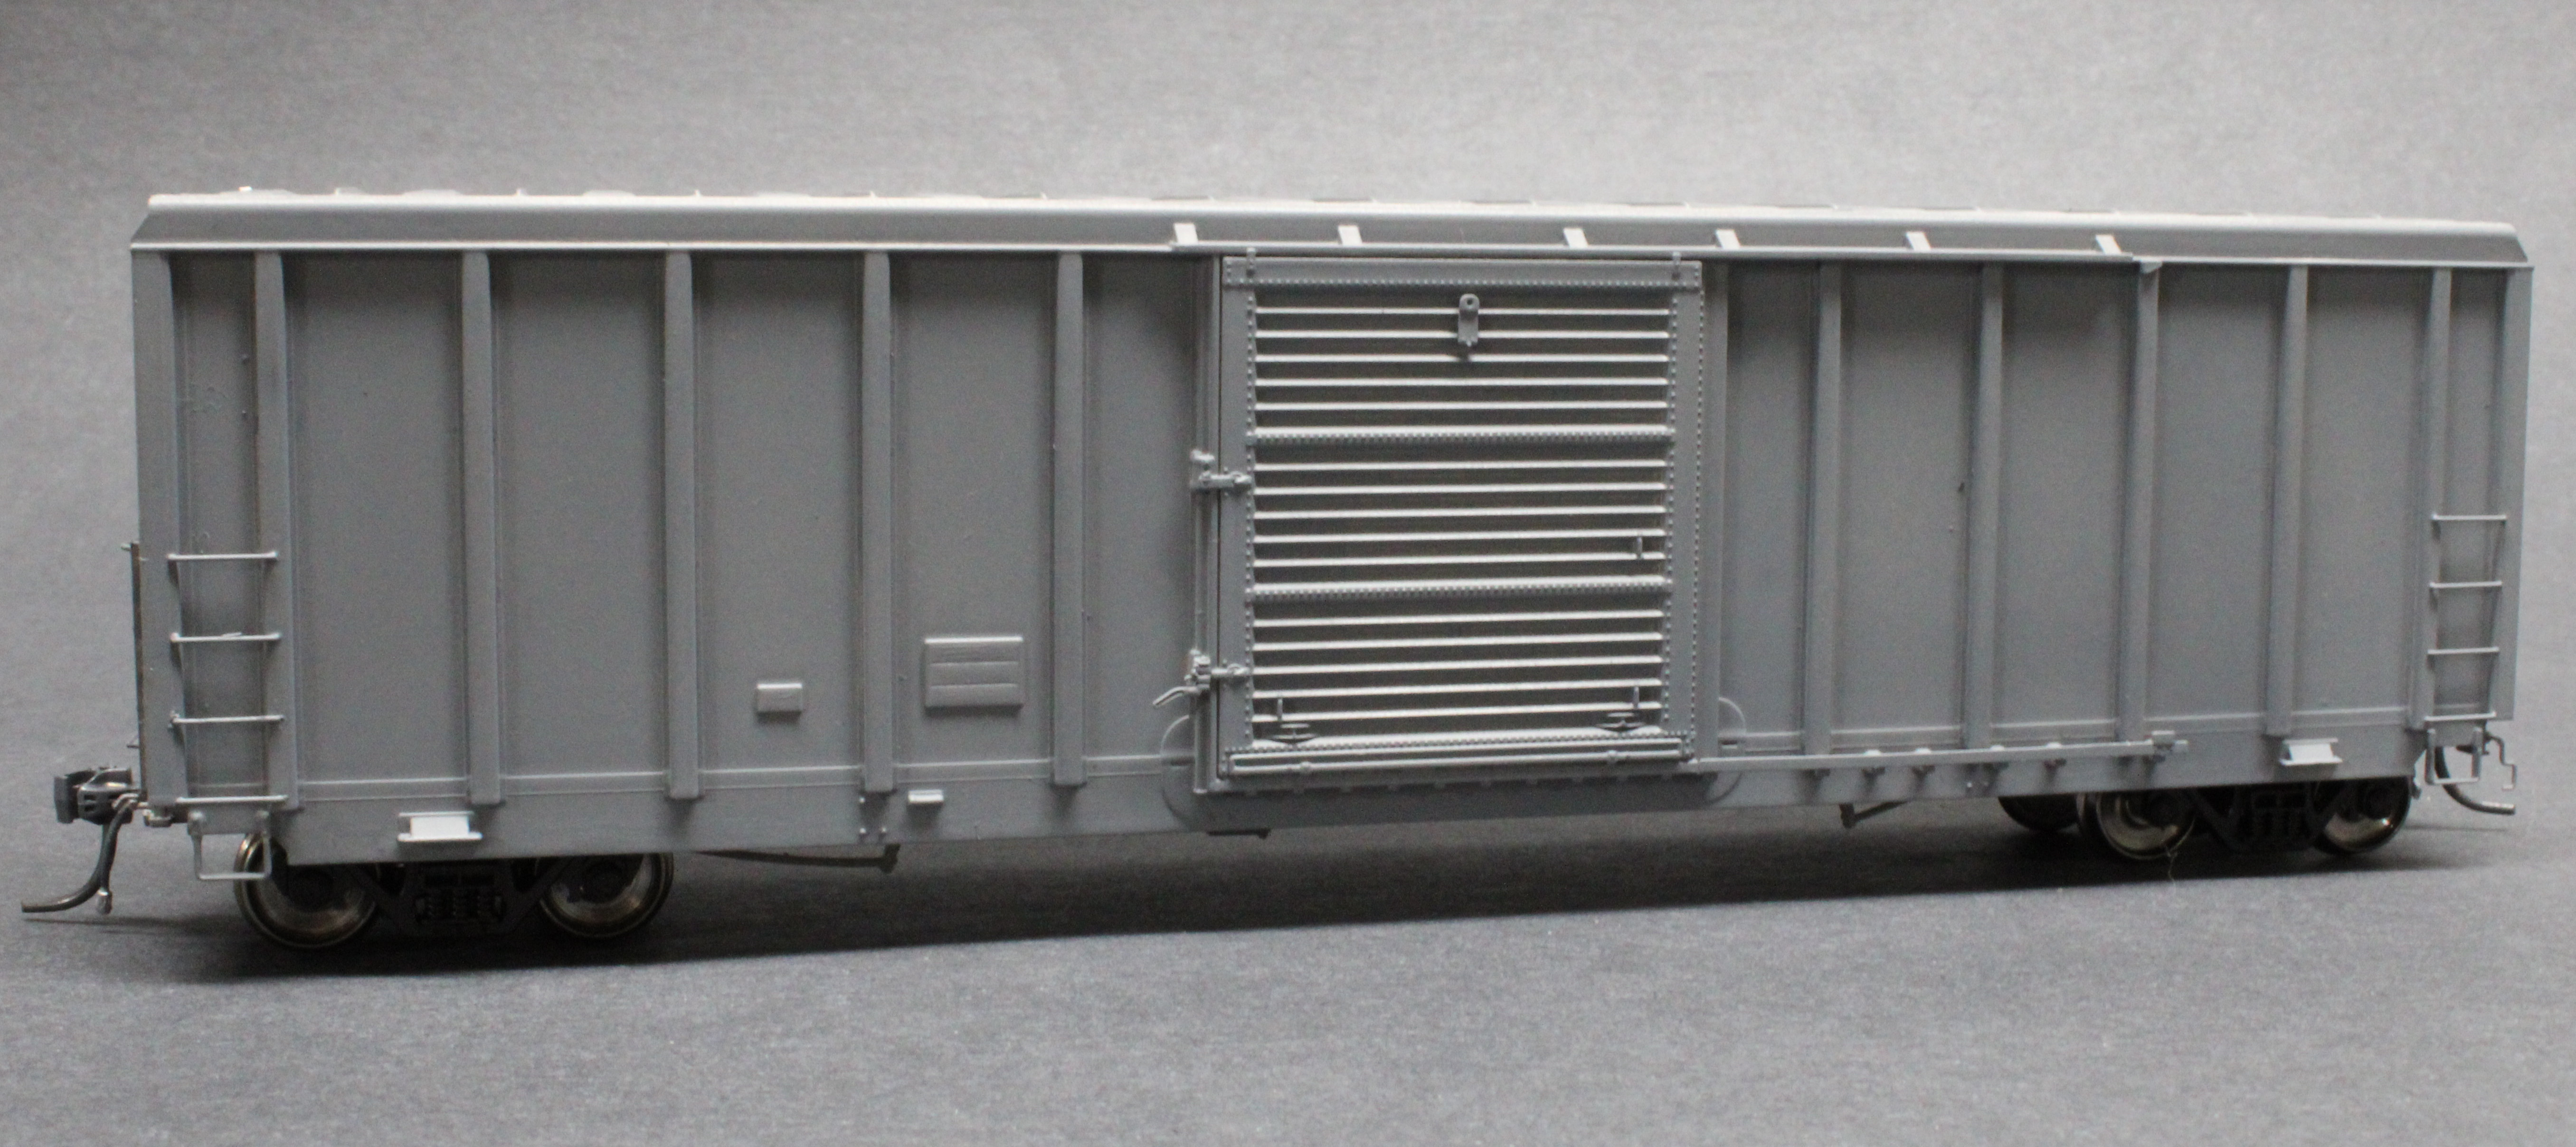
In hindsight, I wish I had used a lighter colour for the primer. That would have helped to show the brightness of the final coat(s) a bit better, and maybe fewer coats of paint.
Here's the boxcar after the colour coat(s) have been sprayed on. Long ago, Luc had given me a bottle of Mission Models Red Oxide paint, I thought would be a reasonable colour match. He also gave me Smokebox Graphics decals to be used on the boxcar.

The colour looked to be about right when it was in the bottle and while it was still wet on the model, but it actually dried to appear quite brown. To counter that, I've sprayed thin and light coats of SP Red overtop, and the result turned out rather well.
Luc had said to me that I could do paint overspray on the roof if I wanted to.

I hadn't actually done the roof overspray before this. It's a subtle detail, but I think it turned out rather well. That dark area at the lower corner of the picture is just a shadow
Here's the boxcar, all finished up: re-painted, patched, and weathered. I had sprayed a gloss coat before applying the decals of course, but I also added another coat of gloss on top of the decals. I think htat helps hide any outline of the decal edges. Then I covered the whole boxcar with Tamiya Clear Flat to eliminate the shine.

If we include the patches, the graffiti, and the old notices by the doors, I think that there are a total of something like 78 separate decals applied to this boxcar. (And after cutting all those decals, I still have all my fingers.)
Here's a final look at ACRR 5455, along with sister car 5450 out on my layout

I think this project turned out to be quite successful
Have a great week. And go do some modeling.
Nice job jim
ReplyDeleteThanks. I appreciate it.
ReplyDeleteI like it as well
ReplyDelete