I don't think I made mention of how much I like this month's header photo up at the top of the blog. Taken from underneath the Gratiot Avenue overpass, which accounts for the shadowy area in the foreground, the picture is one of my favourites from the layout. But I do wish that the headlight on GT 5931 had been turned on. There always seems to be something that should or could be better.

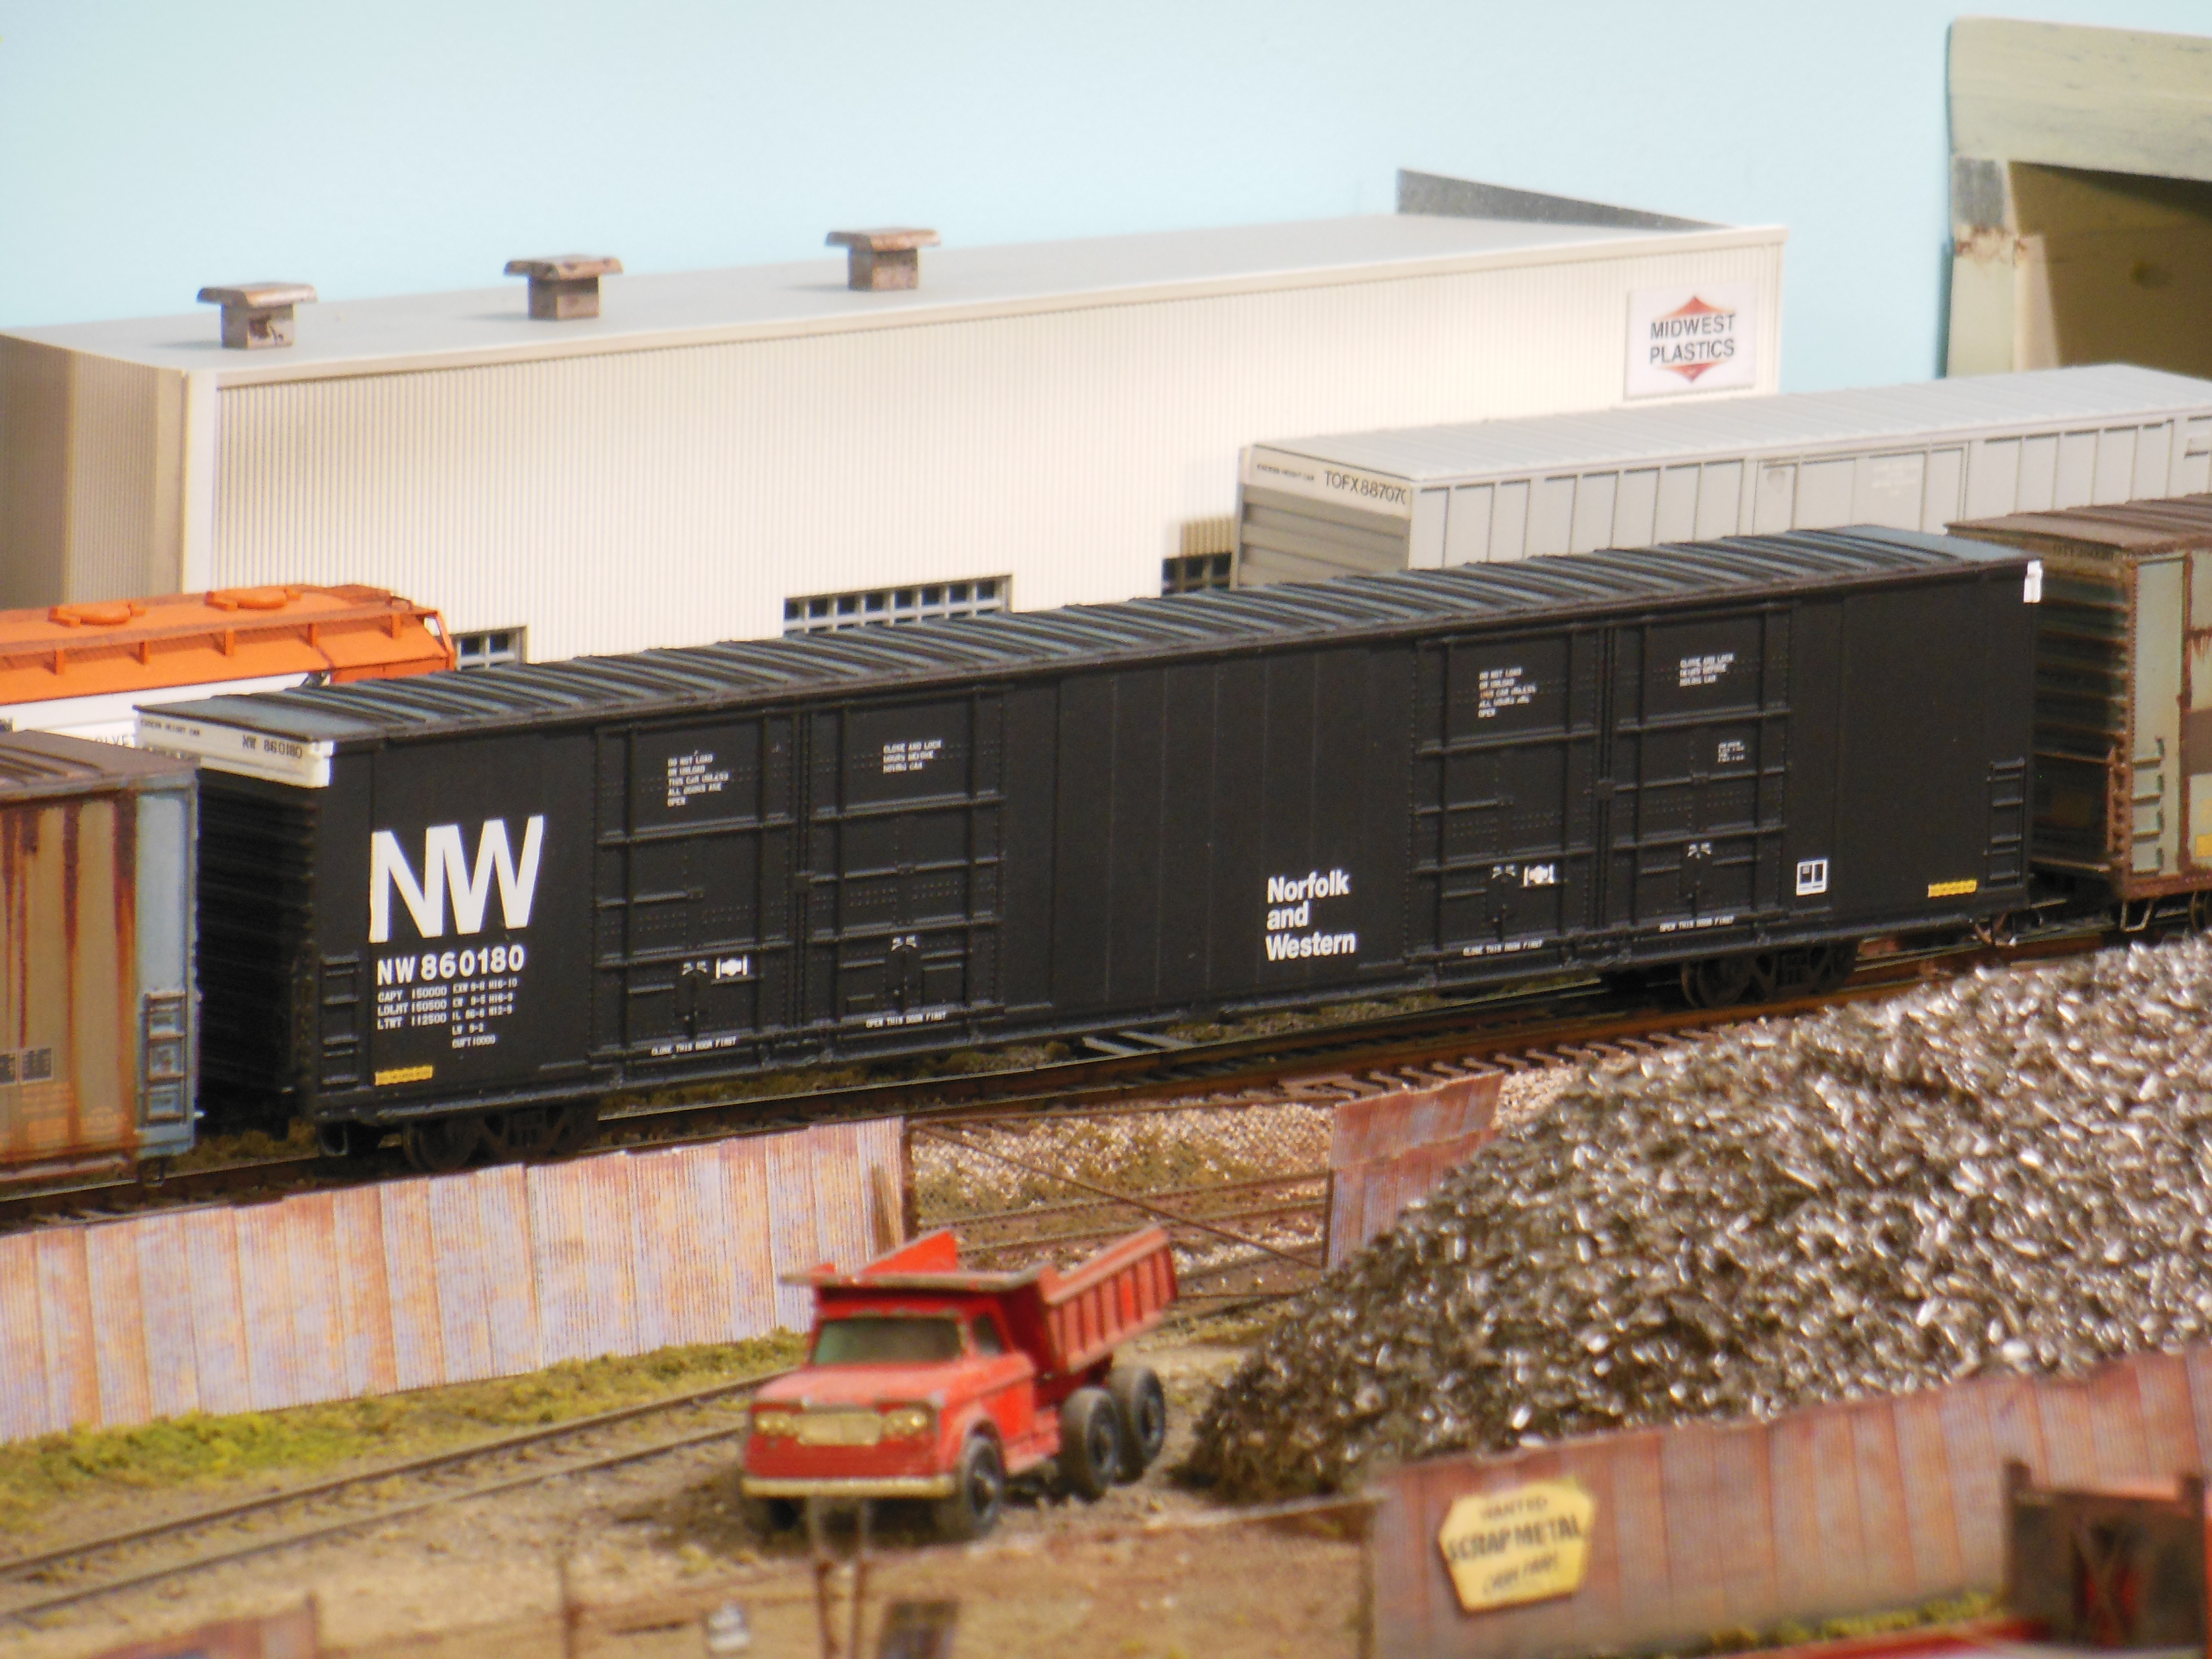
Some time back, I re-painted one of my older Athearn blue-box 86 foot boxes into the Norfolk and Western, number 860180. I'm sure I've shown it here after I'd painted it, but here's a look at it again with a very little bit of very easy recent follow-up work as well...
Below is the prototype photo I used as a guide for the model.

And here's the model afterward

Next up this for this-and-that, I picked up a Roberts Printing (Walthers) kit while ago, and I've gotten a good start at putting it together. I like the design of the model, and I've built the kit as well as kitbashed it before. For this one, I've painted the brickwork "Honeycomb", just to make it a bit different from the more commonly used red brick.
This might sound a bit odd, but I'm not even sure I have a place for this building on the layout. It may very well just go on a shelf, at least for the short term.
Here's a look at the major kit parts laid out on the workbench after the initial painting and with the windows installed.
 Two coats of the Honeycomb colour brushed on. With weathering to follow.
No comments:
Post a Comment