Saturday 31 March 2018

ACME Welding - the prototype

Any time I see a business with the name ACME, my mind goes straight to the old Wile E. Coyote/Roadrunner cartoons, with ACME being the supplier for the coyote's weapons of choice.  ACME actually means (and I looked it up just for this post) something or someone at it's peak, zenith or prime, which is ironic in the cartoon, given the quality of the products that Wile E. seems to receive.

I stumbled across ACME Welding in London, Ontario a couple of years ago. Wow. This small building really got my attention.  Cement block construction, large wooden sliding door with a simple two-colour personnel door inset into it, matching colours with the overhead business sign, metal security screening covering the windows, and a whole bunch of stuff laying on the ground all around it. I should note too, that behind the white block building in the background of the photo is the small CN London freight yard.

These pictures are obviously taken on different days. I wonder who John Robert is. Clearly important to the business owners, perhaps he's been away in the military. I wonder just what they're welding in there. I checked online, but I could find no real presence for the business on the interwebs.


Tuesday 27 March 2018

The Worst Block in Town #3

Downtown Deco also supplies plastic awnings in the kit to place above the windows and front door. I tried one of them, but I didn't care for the way it looked. AIthough I liked the idea of the awnings, I thought that they just looked too new and clean and perfect for what I want my building to be about,

I had some .025 steel wire on hand, so I took a bit of that and bent some simple steel frames to look like they might have have supported canvas awnings. I drilled a couple of tiny holes into the brick, and mounted the wire frames with a tiny dab of white glue.

The old Coca-Cola advertisement was part of a wall sized decal included with the kit. I just trimmed out the Coke part because that's all I wanted to use.  That's an abandoned couch and mattress sitting toward the back of the cement foundation. They come with the kit.

This is the view of the building where it will sit on the layout, with another Downtown Deco kit beside it.

And here's the view from across the street at the JSSX engine shed, or if you prefer, it's from in front of my workbench.  Barely visible in this photo is a handrailing I put on the front steps.  It's an old front railing from a GP 38. Still have a few finishing touches to go on this (some ground cover, ballast the track, etc., but this is what it will generally look like. I think that red brick wall looks a little plain, so I'll have to address that as well as completing the street to cross the tracks.

All in all, I like the look of this building, and had a great time assembling, painting and adding a few details to it.


Tuesday 20 March 2018

The Worst Block in Town (2)

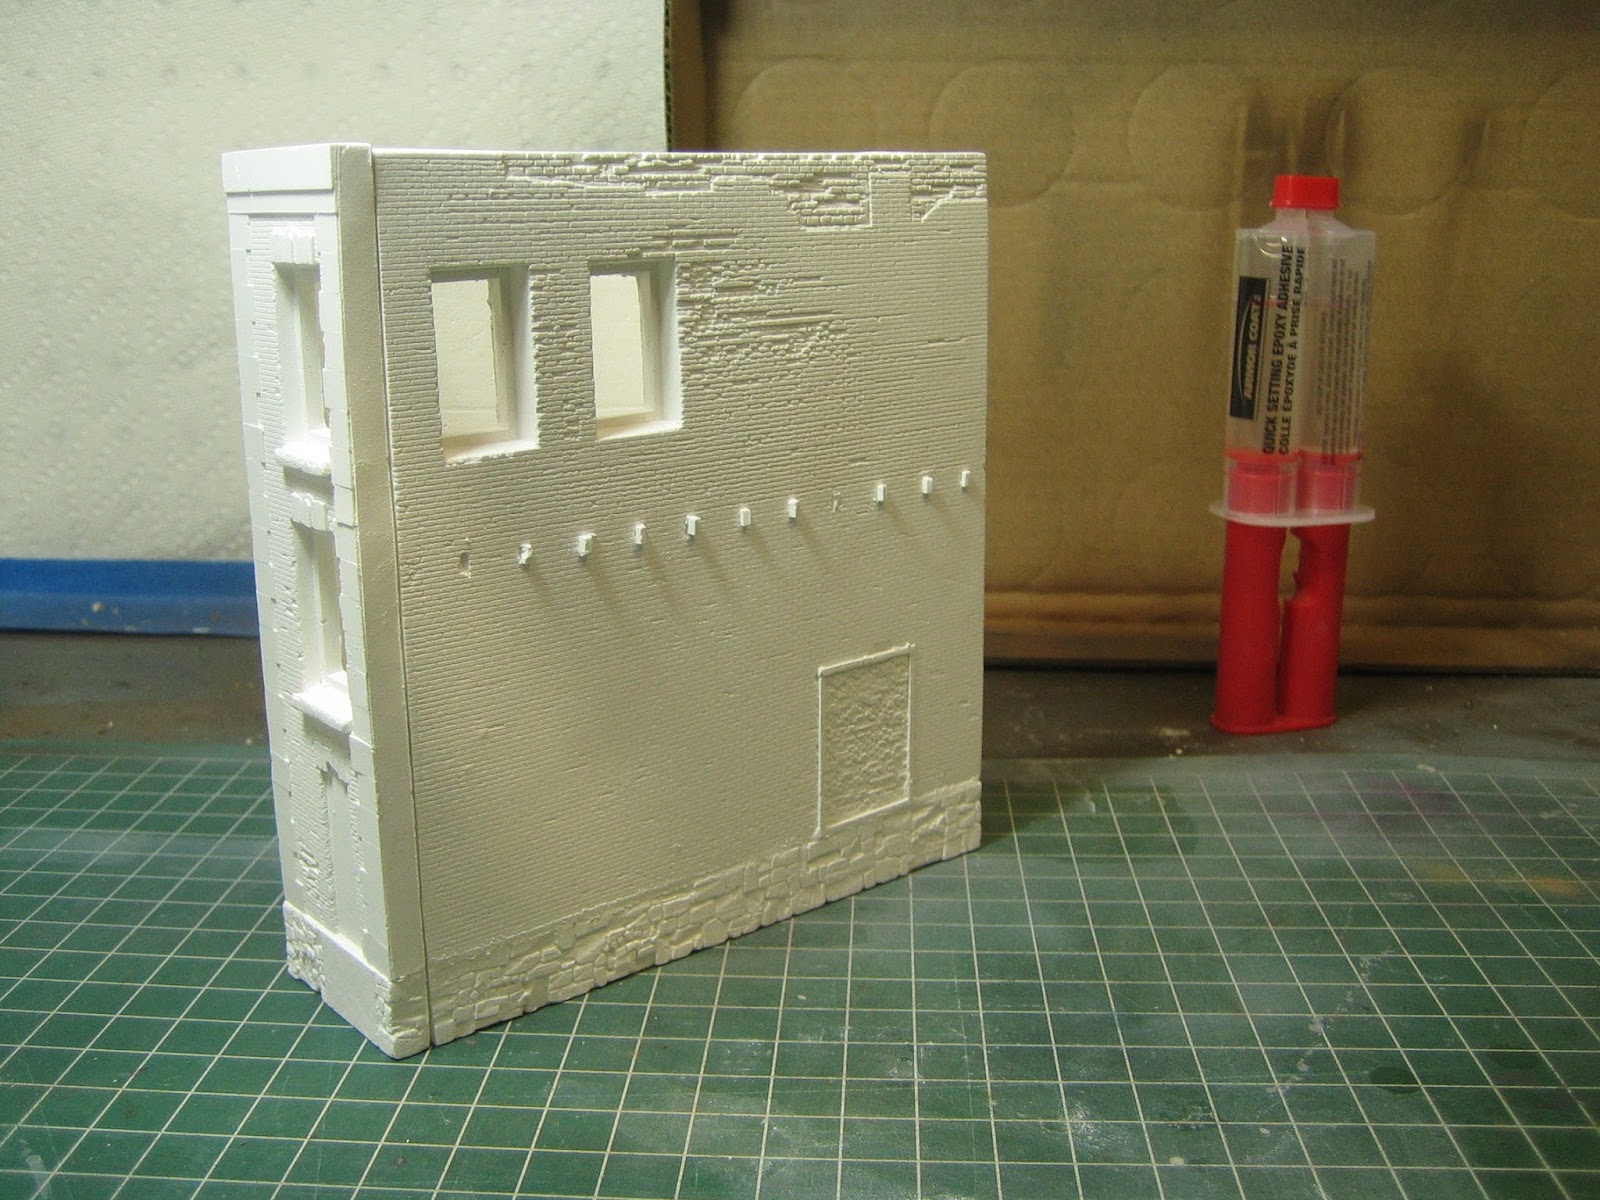
I'd like to know how Downtown Deco carves in all that fine brickwork on these Hydrocal kits. It really is remarkable the level of detail that they achieve. And if or when a few bricks become slightly damaged, the buildings seem to look even better.

Over at www.tws-rustbucket.com, there's an incredible group of modelers where you can learn a tremendous amount about building models and weathering.  I log on there pretty regularly. A few months back, there were a couple of threads posted by Rodney dealing with Hydrocal models 10 feet and 5 feet long. I tried to provide the link to Rodney's remarkable thread, but it didn't appear to work here. I don't know why not.

I picked up a significant tip from his threads called "pre-shading". This is a simple process where you paint areas of a kit dark (generally with black paint I take it) before you paint it with the actual intended colour. Taking this extra step gives the model some colour tone variation. Pretty cool idea. I'd never heard of it before.

Downtown Deco recommends sealing the plaster with white spray paint because the plaster will just soak up paint like a sponge.  I didn't have white spray paint, so I just went with Krylon Clear Matte. Here's my building, sealed and with some of that pre-shading done. I didn't think I was going to like the end results from those 3 vertical stripes I had sprayed as shown below, so I sprayed more black over the whole lower half of the side wall.
    

In the picture below, the dark pre-shading shows through the brick colour on the lower half of the side wall, and around the windows.  Turned out pretty good I thought for the first time trying this technique.

The paints I used are acrylics: Craftsmart Black for the pre-shading, and Folk Art Honeycomb for the brick colouring. The black pre-shading was sprayed with my airbrush, but the Honeycomb was applied to the brick with vertical strokes using a flat half-inch wide artists brush. 


The window sills and foundation stones were painted with ModelFlex Concrete Grey.  Pretty well the whole building was given a wash or two of alcohol and india ink to bring out the mortar lines.

Also in the photo below, you can see that the brick side wall is bowed outward about 1/16th of an inch, maybe even just a touch more than that. It came that way out of the box. I didn't know how to straighten that, or if it could even be done, so I just left it alone and did the best I could with it as is. This side won't be visible when it's in place on the layout anyway.  I shortened the front porch about 1/2" because it stuck out further than I think would fit into the space I'll have available.


A view showing the back of the building. I might have gone a little heavy with the India ink/alcohol wash, but I wanted it dingy back there.


The roof material, a small piece of styrene sheet for use as a base, along with piece of black construction paper to represent a tar paper roof, is supplied with the kit.

Following a suggestion in the assembly instructions, I laid out the tar seams with a black Sharpie pen.  Then, using a toothpick, I went over the lines with some white glue. This raises the tar seams just ever so slightly and gives them a little bit of a shine as well. I thought that was kind of a neat little detailing trick.  I wouldn't have thought of that.

The two chimneys come in the details package, and I did the same painting to them as the building walls. Too bad they're not hollowed out down the centre. I just stuck 'em onto the roof with some white glue since I had it out anyway for the tar lines


Wednesday 14 March 2018

The Worst Block in Town

I thought I'd try to get away from the small extension I've been adding to the layout. That's been turning out well I think, but I just kind of wanted to take a break from it and do something different for a while. I saw a building kit on the website of a local hobby shop - if you can call 80 miles away local - that I thought would fit in well on the layout if I just shifted a couple of things around. So I ordered "The Worst Block in Town" and received it in the mail 3 days later.  Great service from Otter Valley Railroad in Aylmer, Ontario.

Made by Downtown Deco, this is only the 2nd Hydrocal kit I've ever put together, but the first one went together well enough, so I wasn't too concerned about this one.

The four wall sections are at the top of the picture, with 2 "concrete" pads and stairs at the bottom.  The concrete pads are to represent the foundations of buildings that have been razed. Other kit parts and details are to the left. I don't think that both of the concrete pads will fit in the space I'll have available, but I like the idea of including at least one of them.

Following the assembly suggestions from Downtown Deco, I used 5 minute epoxy to hold the walls together. I tried to be as careful as I could to get the walls square, but I did end up with a gap between the back wall and the side wall of the building. In hindsight, I should have maybe taken a picture of that, but it didn't occur to me at the time.

The instruction sheets warn that the Hydrocal doesn't have any "give" to it and will be likely to crack or break if you try to force the walls to bend. This problem gap was about 1/8" wide. With Downtown Deco's warning about breaking the wall in mind, I just mixed up a little Hydrocal that I had on hand and filled in the gap myself. After it set overnight, I sanded it down and carved in a little bit of brick detail with an Xacto knife.I had no problem doing this and it actually made this project a little more fun anyway. I'll have more on this building next time.

Friday 9 March 2018

JBOX

For all of you that are more prototype oriented than I am, sorry about this. Bear with me, and try to see this from my point of view. I painted and lettered this boxcar a few years ago, and that was several years after I actually had the idea for the project.  It was one of those things that just kept getting put off, but ever since I finished it, this has been one of my favourites.

I had long wondered just what one of these might look like, although my original idea was for the project to be carried out on an 86 foot 8 door boxcar, just because I have always liked the look of the 8 door variety better.  I had trouble trying to work out the decal placement on the 8 door car though, so I ended up settling for the 4 door type.

Speaking of the decals, I ran into more trouble trying to find the boxcar data printed in black for the 86 foot car. In an online search, I was pretty happy to find decal maker Daniel Kohlberg's site, www.paducah@mindspring.com  I ordered a set of ICG decals for the 86 foot car from Daniel so that I could use just the data portion. The other decals I used are made by Microscale.

The model itself is from Athearn, picked up used at a train show. I stripped off the original paint, and then re-painted with ModelFlex RBOX yellow and black.  The roof was done with Floquil silver, then toned down with Modelflex grey. The stirrup steps had been broken off (of course, aren't they always?), so I replaced them with new ones made of brass wire.  I also added metal wheels and coupler cut-levers.

The boxcar never existed in this scheme, so I decided to use the reporting marks "JBOX". My name is Jim, which obviously starts with "J", and I very often get called Jimbo by friends and family. I supposed that if the boxcar were real, the car might also become known as a Jumbo so it all fits together, at least in my mind.

I settled on using 149500 as the car number, because that's what the load limit reads on the data set.

So, here it is. I am pretty sure this is the only the JBOX ever.


Tuesday 6 March 2018

Tunnel Liner Segments

A few weeks ago I posted a couple of photos of where the car ferry yard, or "boat yard", used to be here in Sarnia. I referenced that when CN built the new tunnel that runs beneath the St.Clair River in 1992 the boat yard became redundant.

I miss that yard, and seeing the car ferries running back and forth across the river from Sarnia to Port Huron, Michigan, loaded mostly with 86 foot high cube auto parts boxcars and auto racks that wouldn't fit in the original tunnel. I've always wanted to include a car ferry operation on my layout. Maybe one day.

Here's a view of the two tunnels, albeit without a train, taken back in November from the pedestrain walkway that crosses over the tunnel cut.  Seems I never actually see a train exiting the tunnel, but I think CN runs about 20 - 24 trains a day through it.

At the top of the hill on the right, there's a fenced in area that has quite a number of left over concrete liner sections from the new tunnel. I have no idea how many of those sections were used in constructing the tunnel, but I do remember that there were a couple of nearby fields that were full of them. Here's a view of some of those leftover.


Thursday 1 March 2018

I'd Model This

I'd really like to model this scene on my layout. And I mean I'd really like to model it. If only I could just figure out where to put it. I like the triangular concrete dock, and that it appears to be just resting on top of a collection of concrete slabs. Notice that the trailer on the right is oriented forward to the others, and second from left has a roll-up door.  This scene is located behind the Lamco Transportation terminal that I showed here back on October 22, 2017.